Import Themes
Customize Your Design with Skeleton Themes
Skeleton is continually evolving, and to ensure that your design remains in harmony with it, it’s essential to keep the Skeleton Figma UI library up to date.
Import Custom Theme
1. Open Skeleton v3 Figma Library

2. Open Skeleton themes plugin
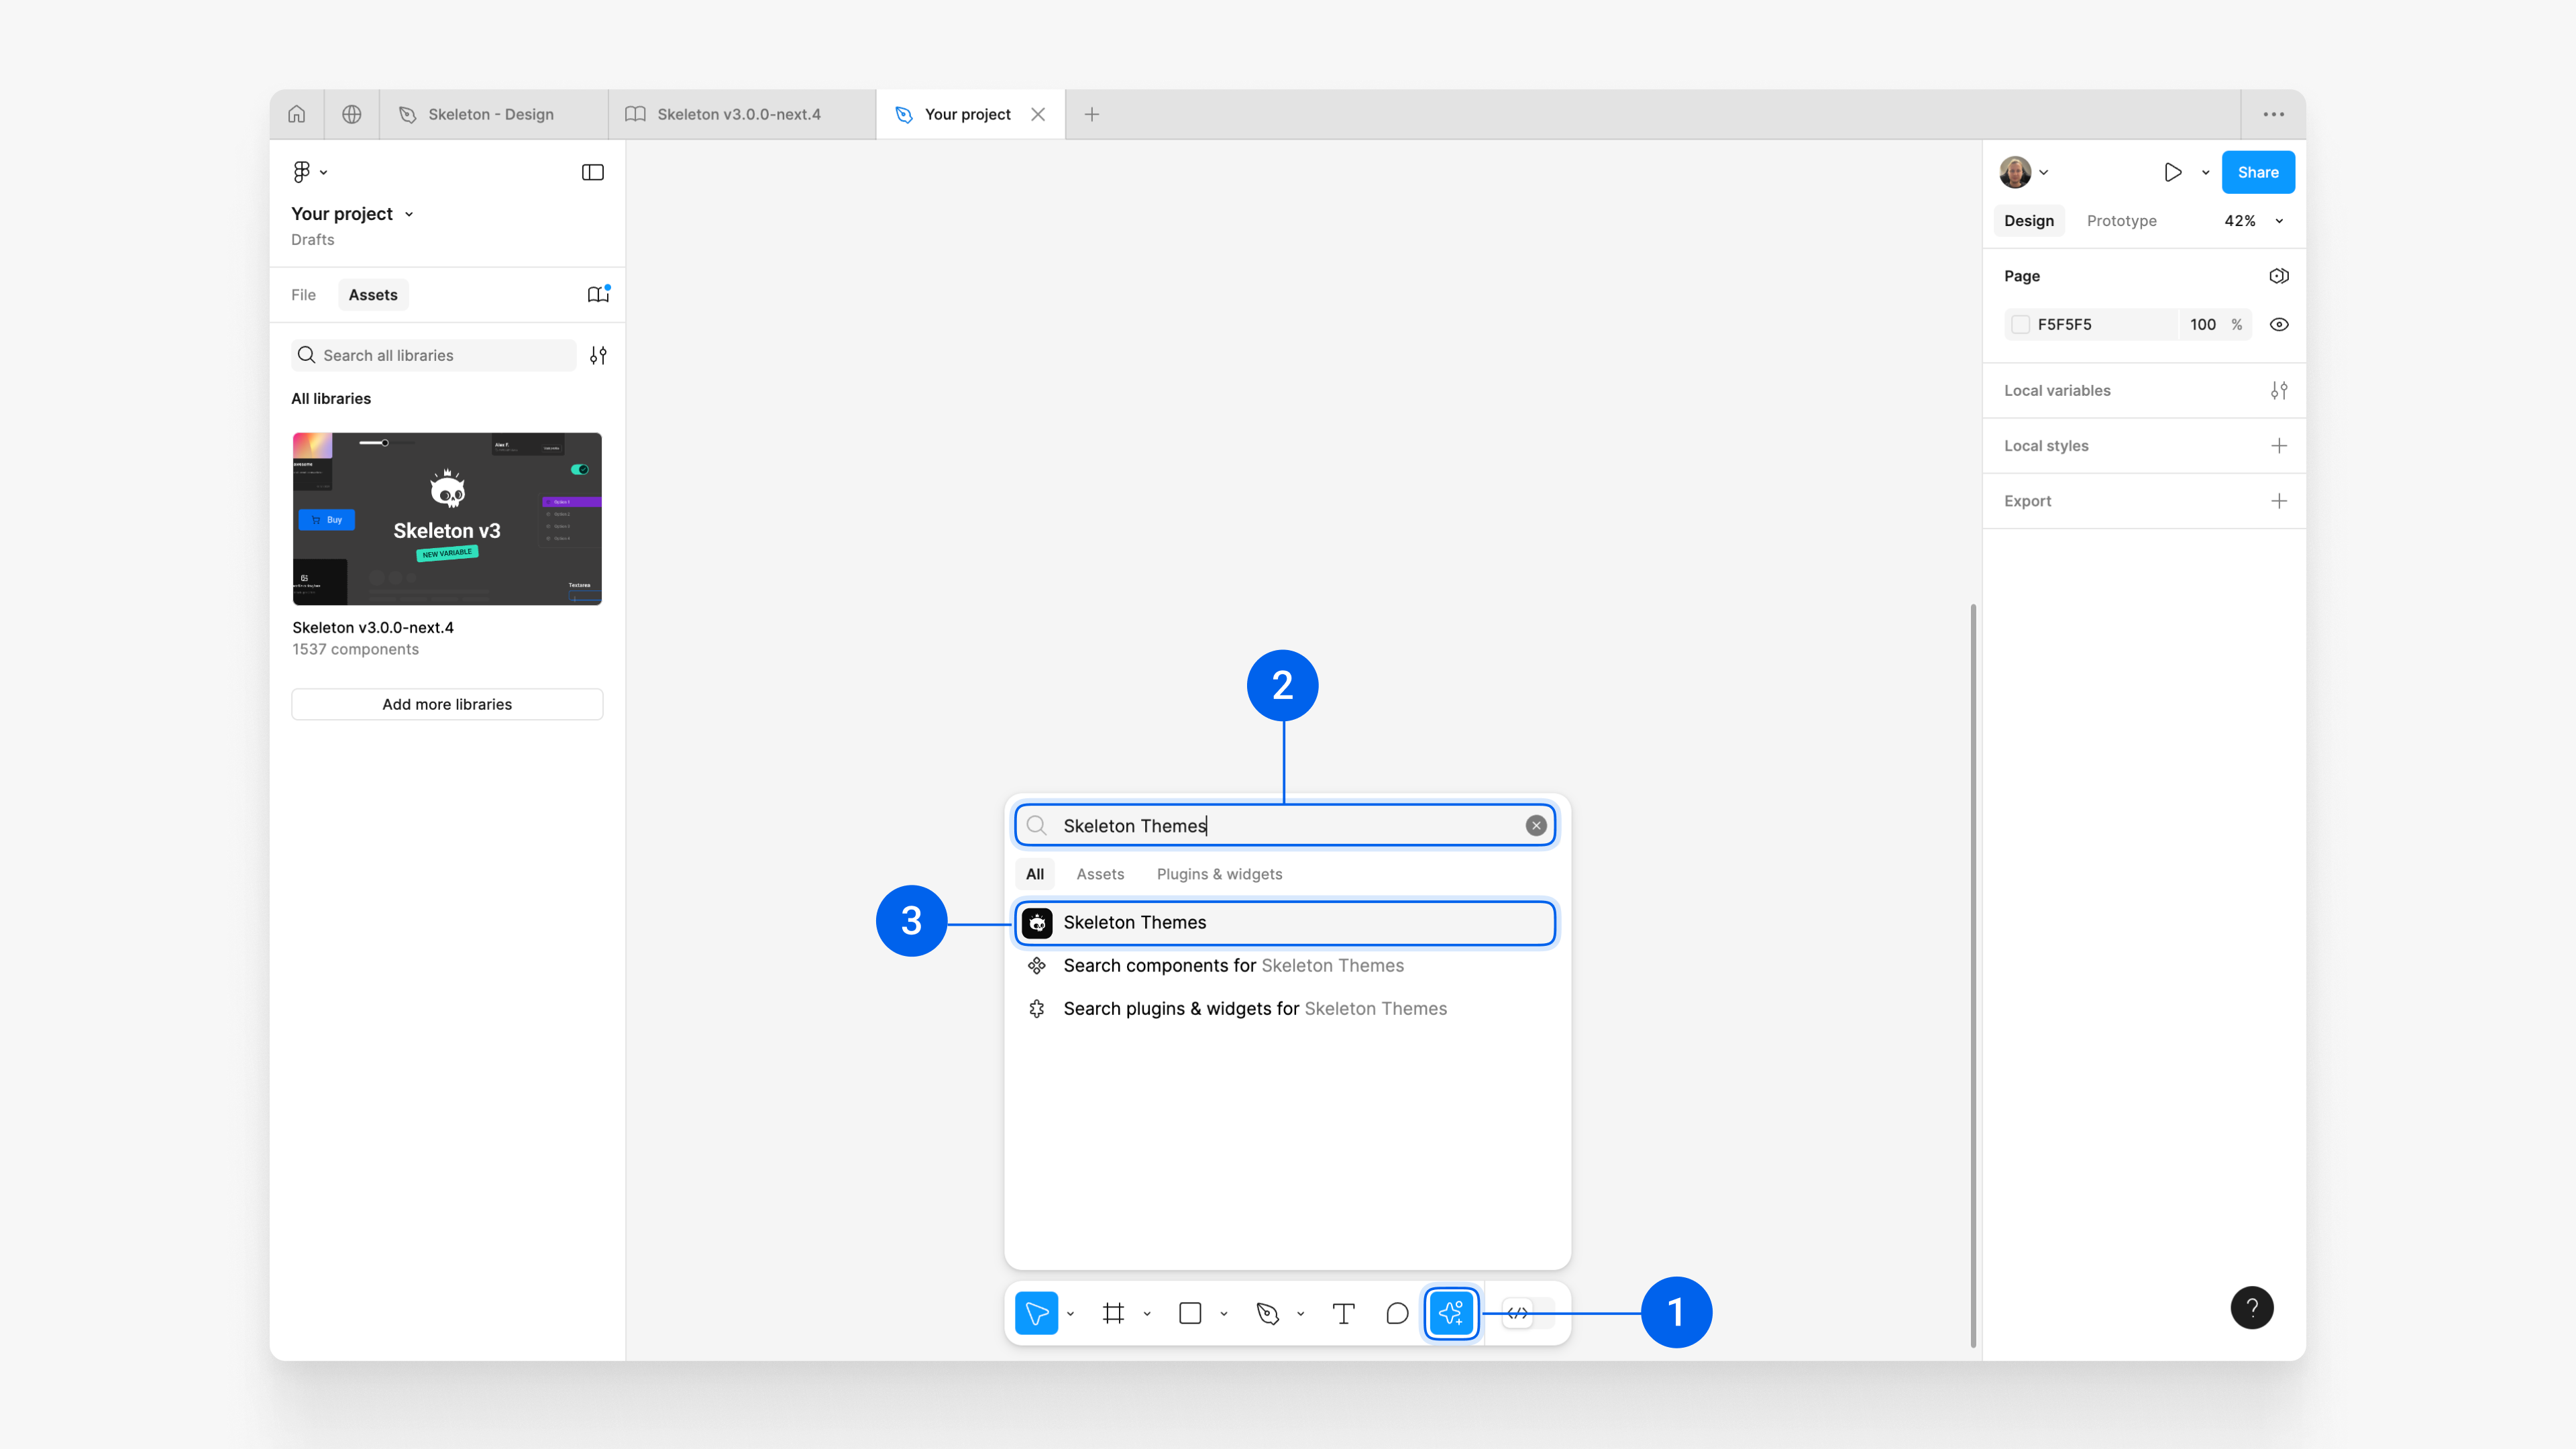
Click on the Actions¹ button in the toolbar, search for Skeleton Themes², and click on the Skeleton Themes³ plugin when it appears.
Important: The plugin is compatible only with the Skeleton v3 Figma Library.
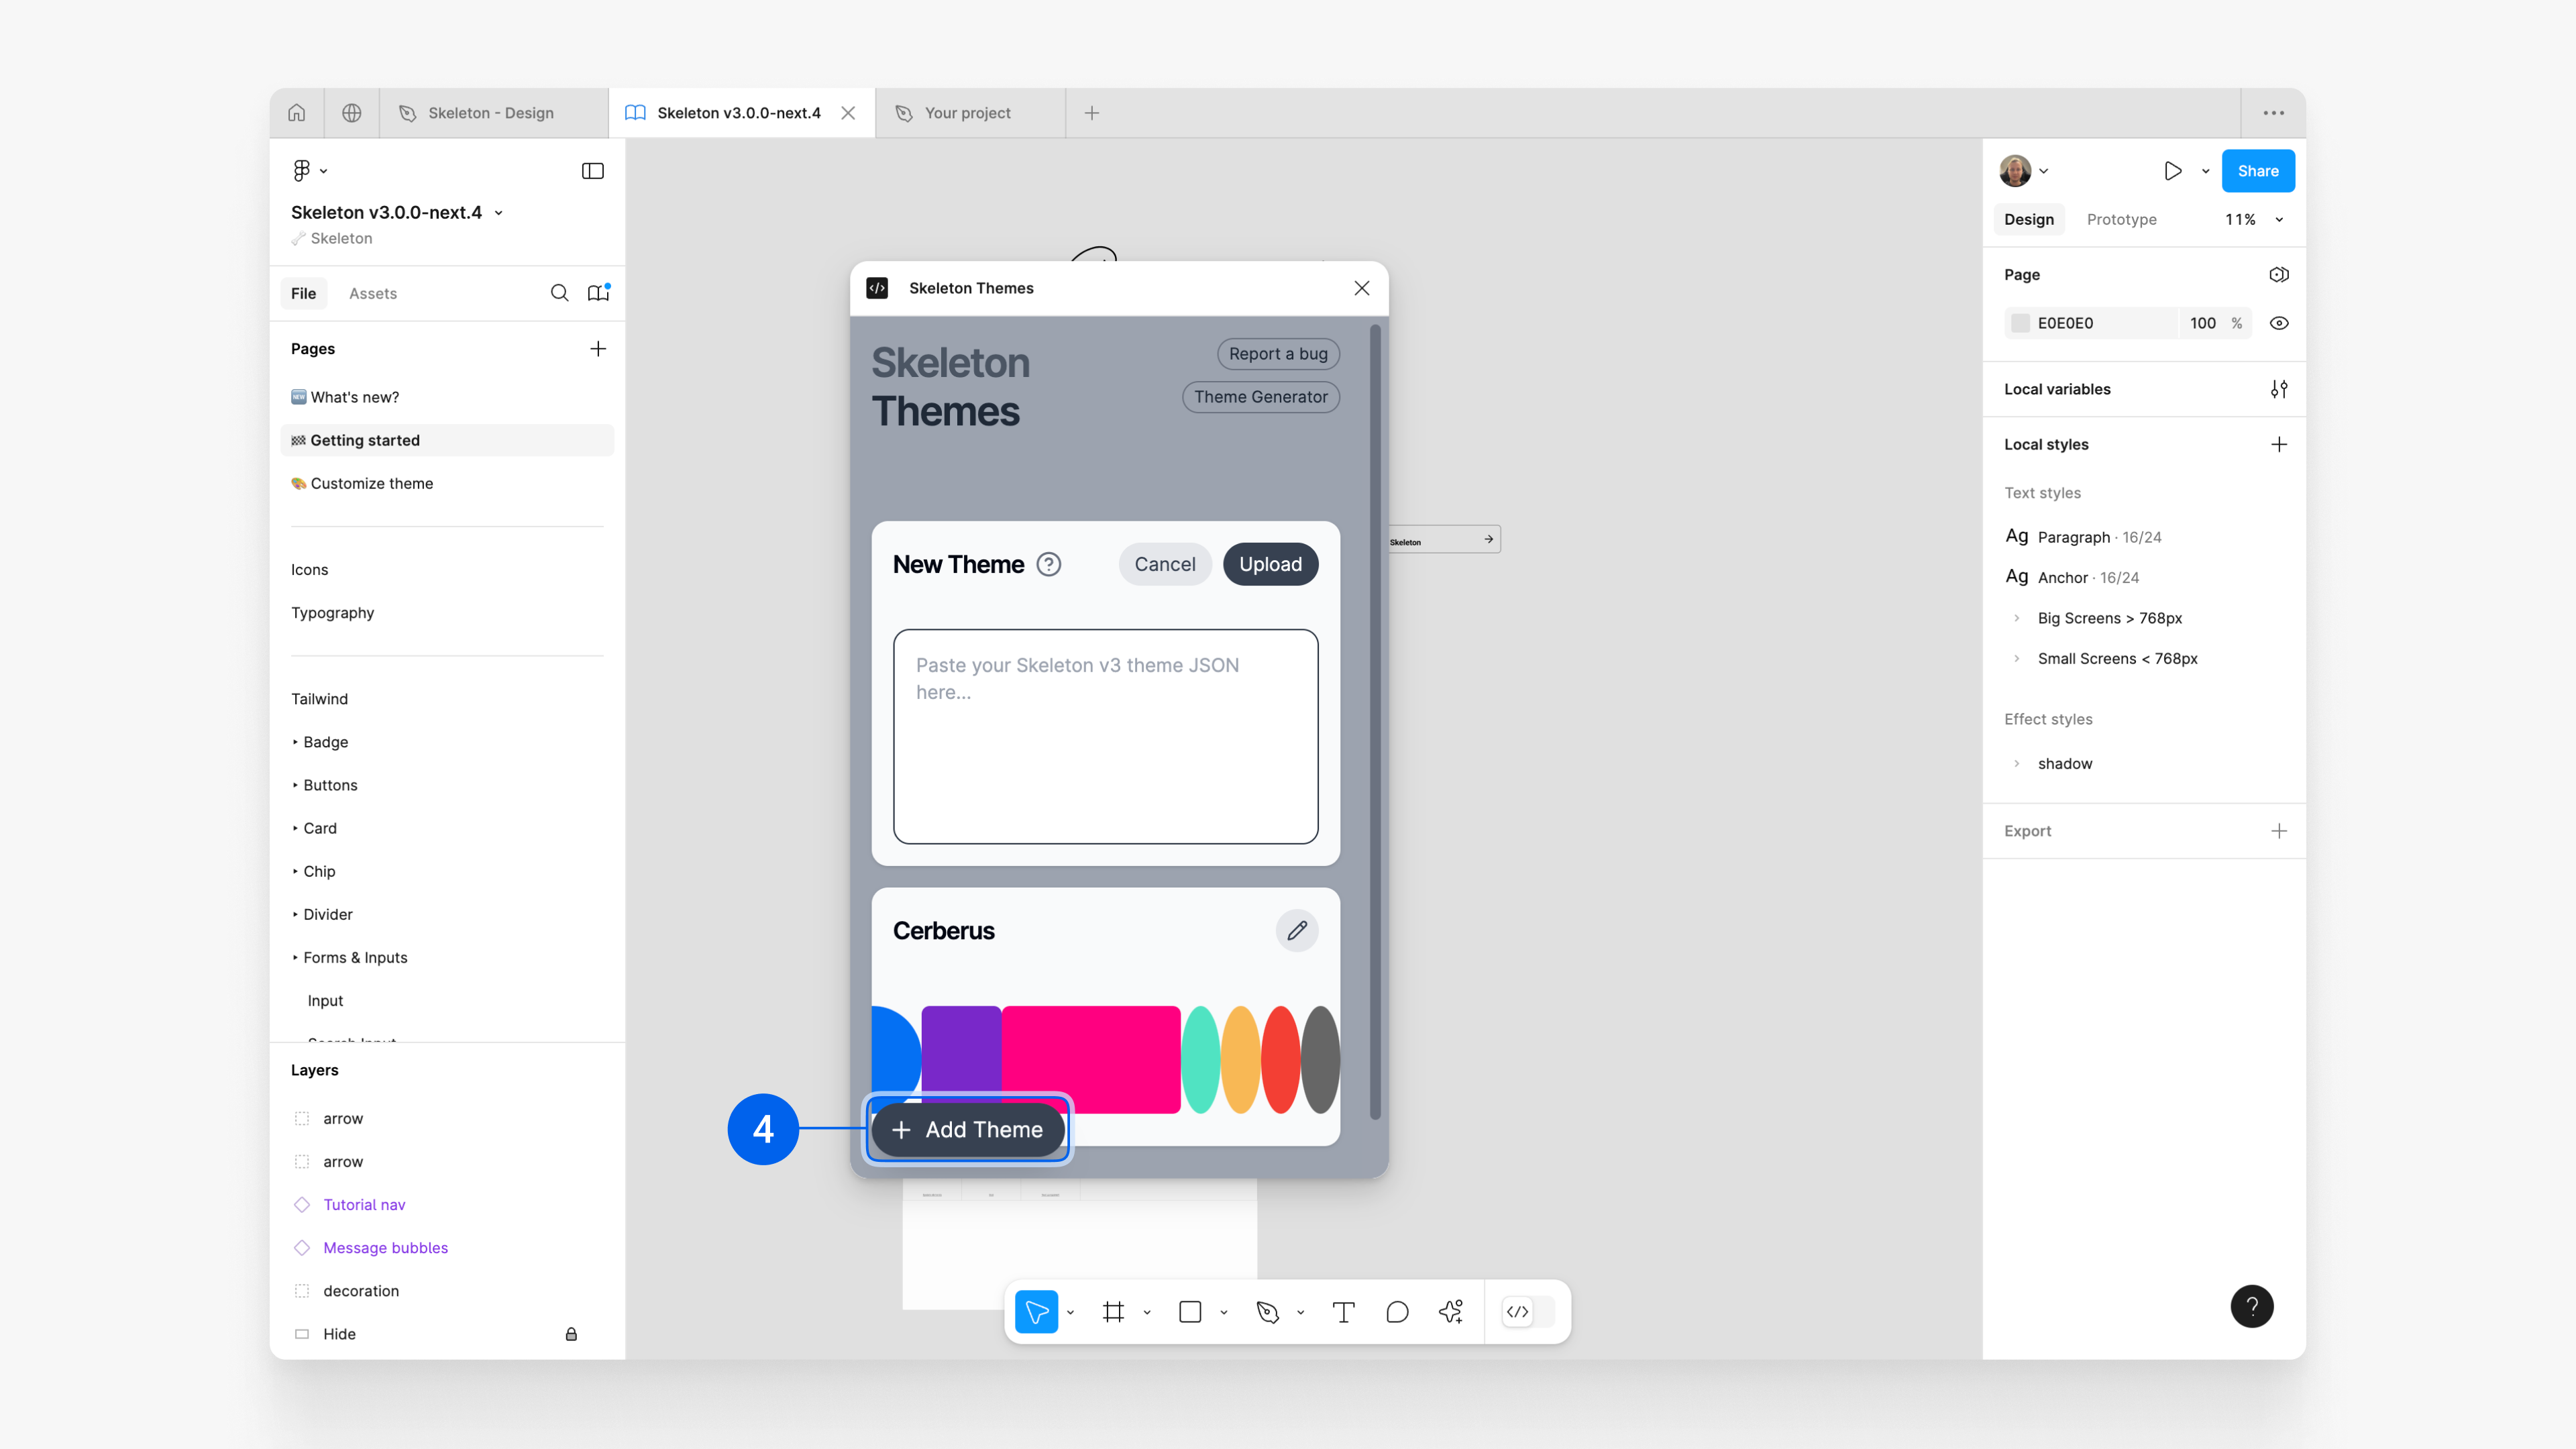
3. Add new theme
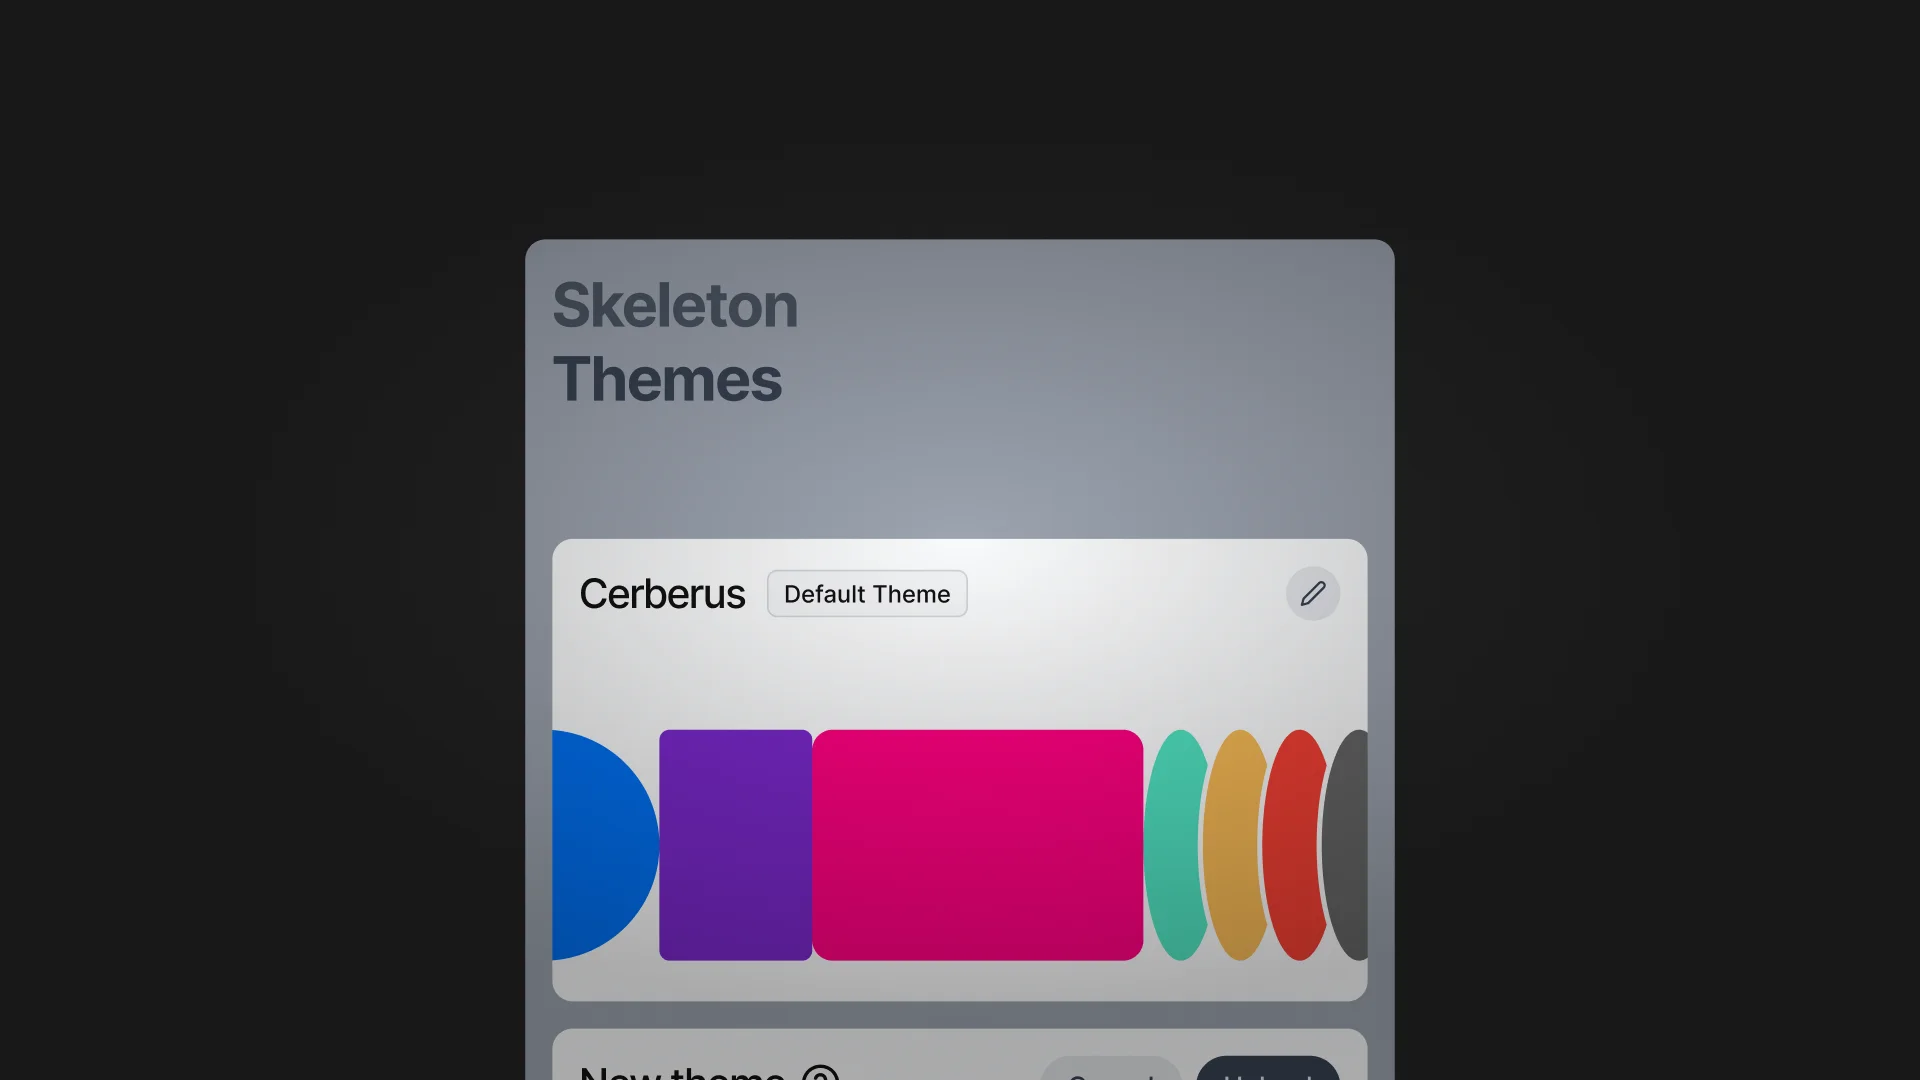
The library includes a default theme, Cerberus. To add your theme, click Add theme⁴.
4. Select theme
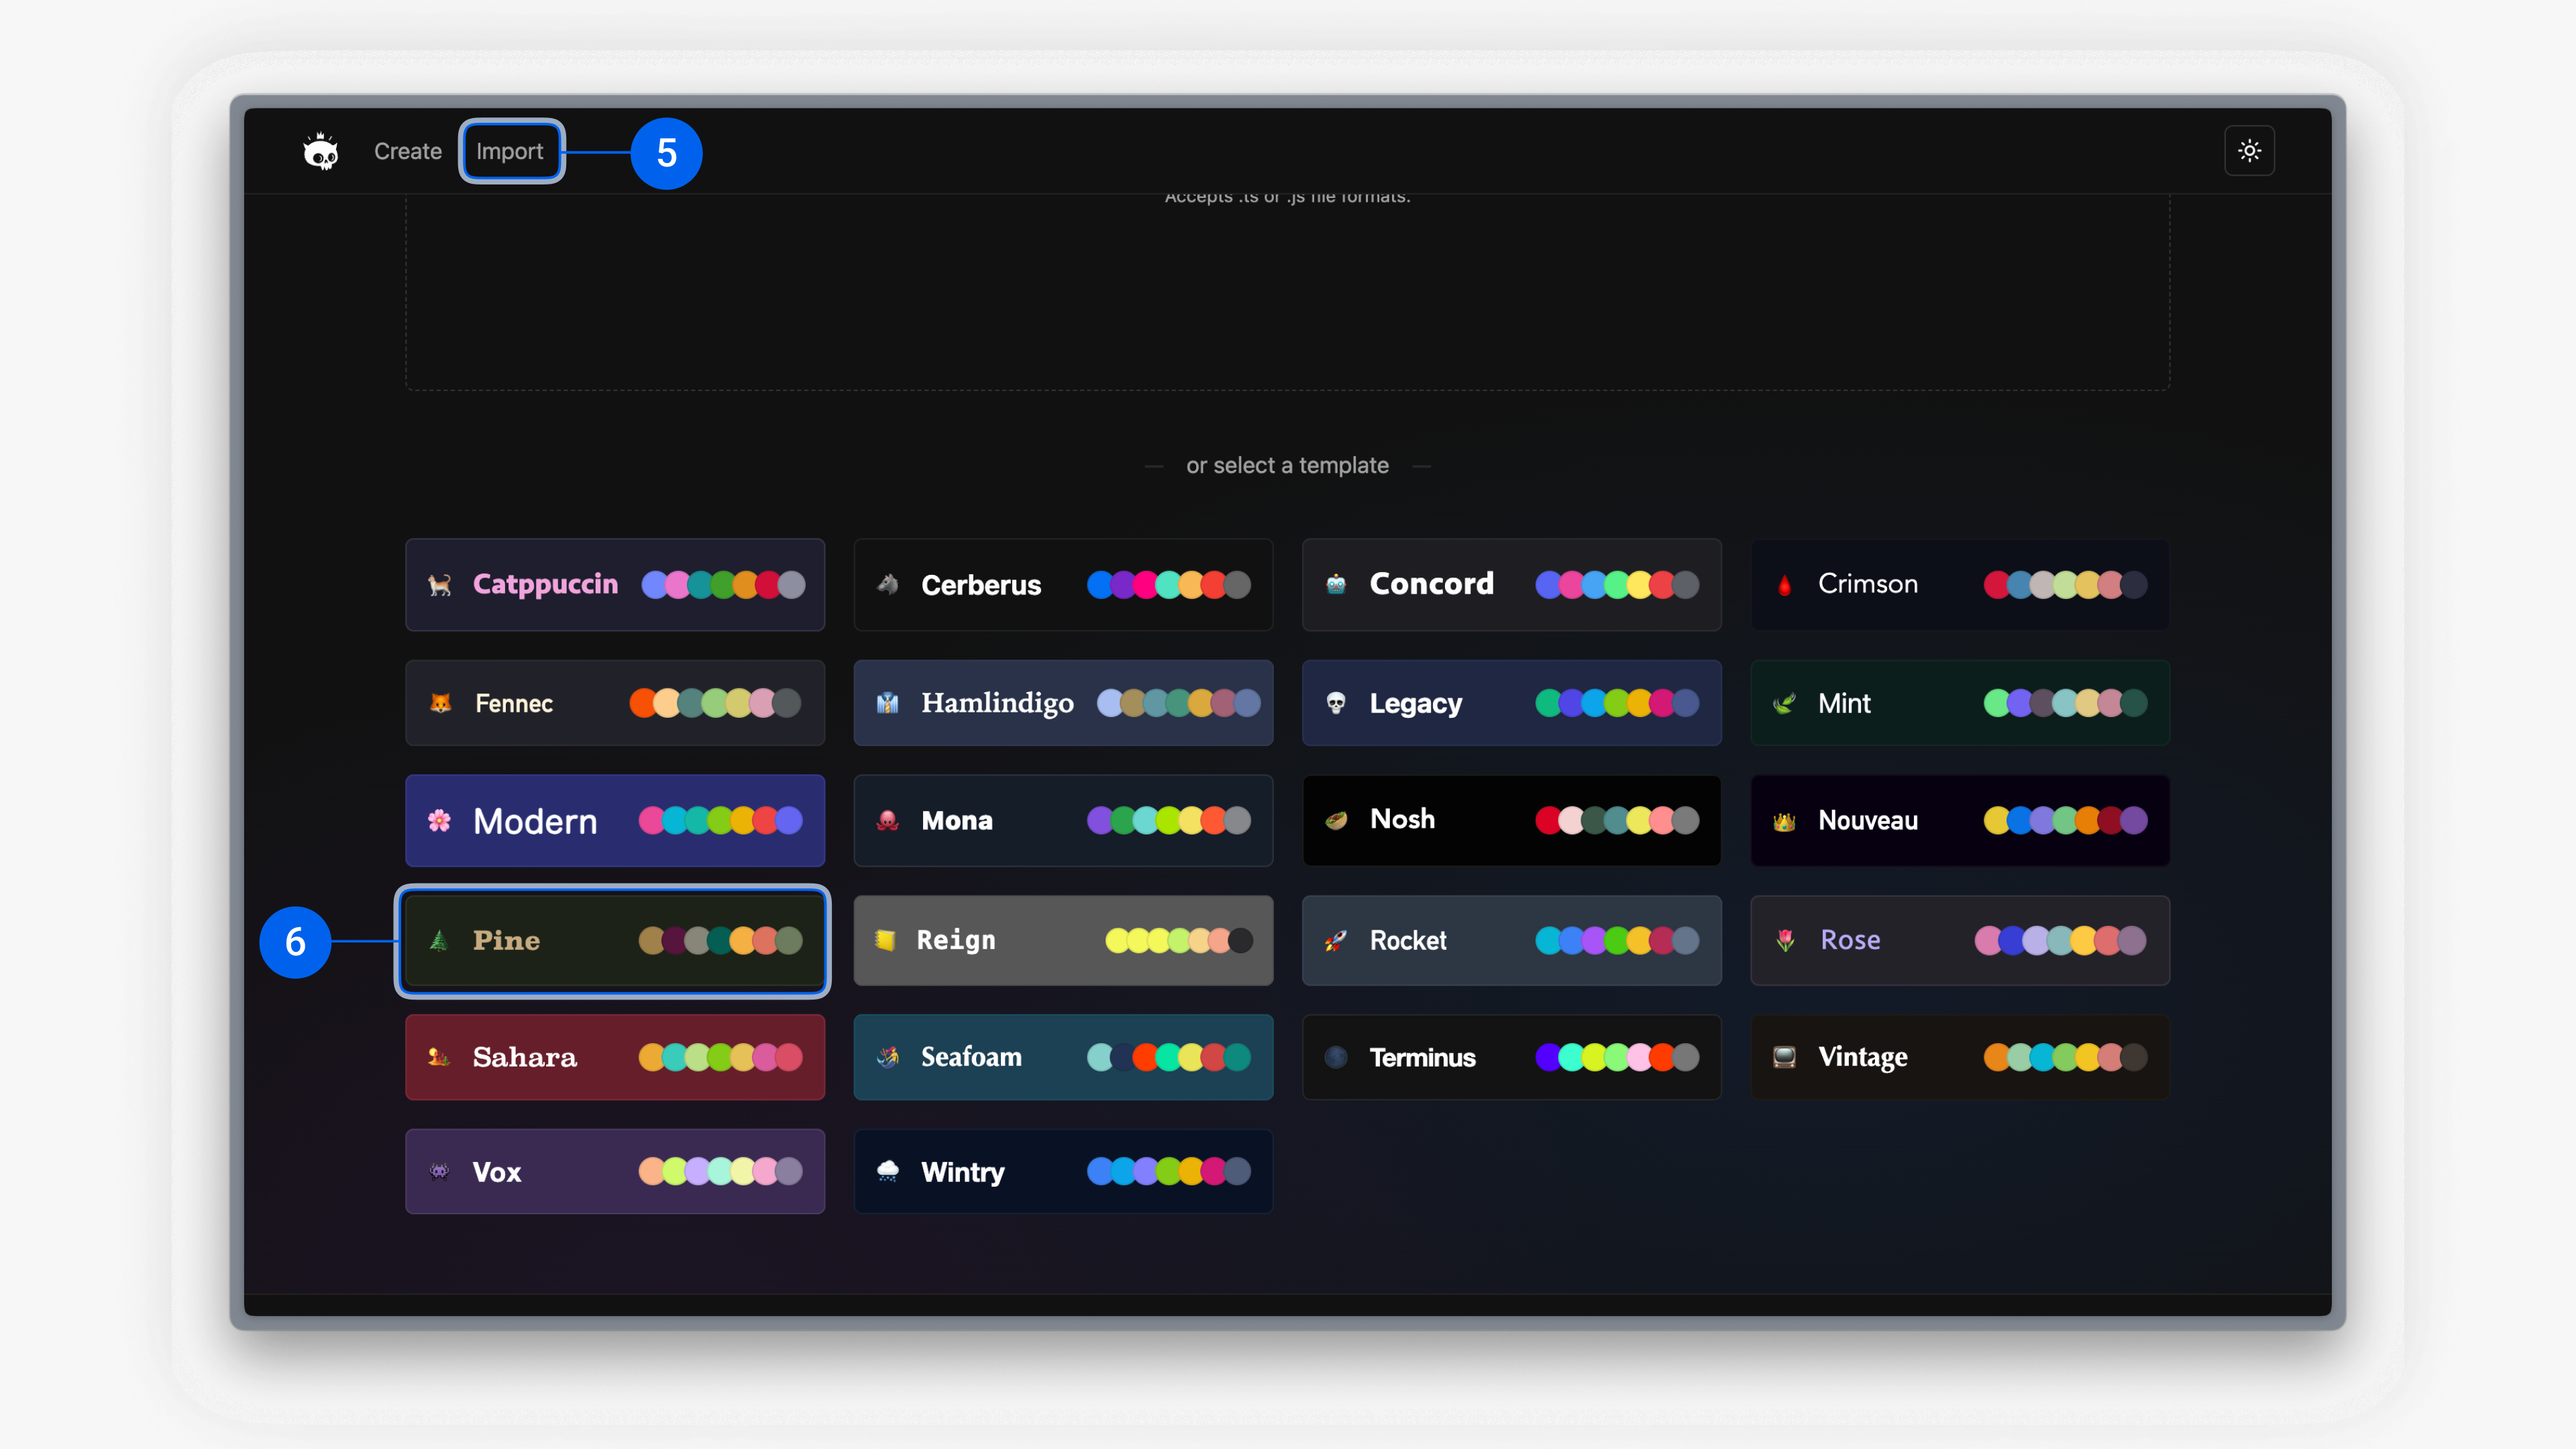
Copy your theme code by visiting the Skeleton theme creator. Click Import⁵, then select a theme⁶, or compose your own.
5. Copy theme
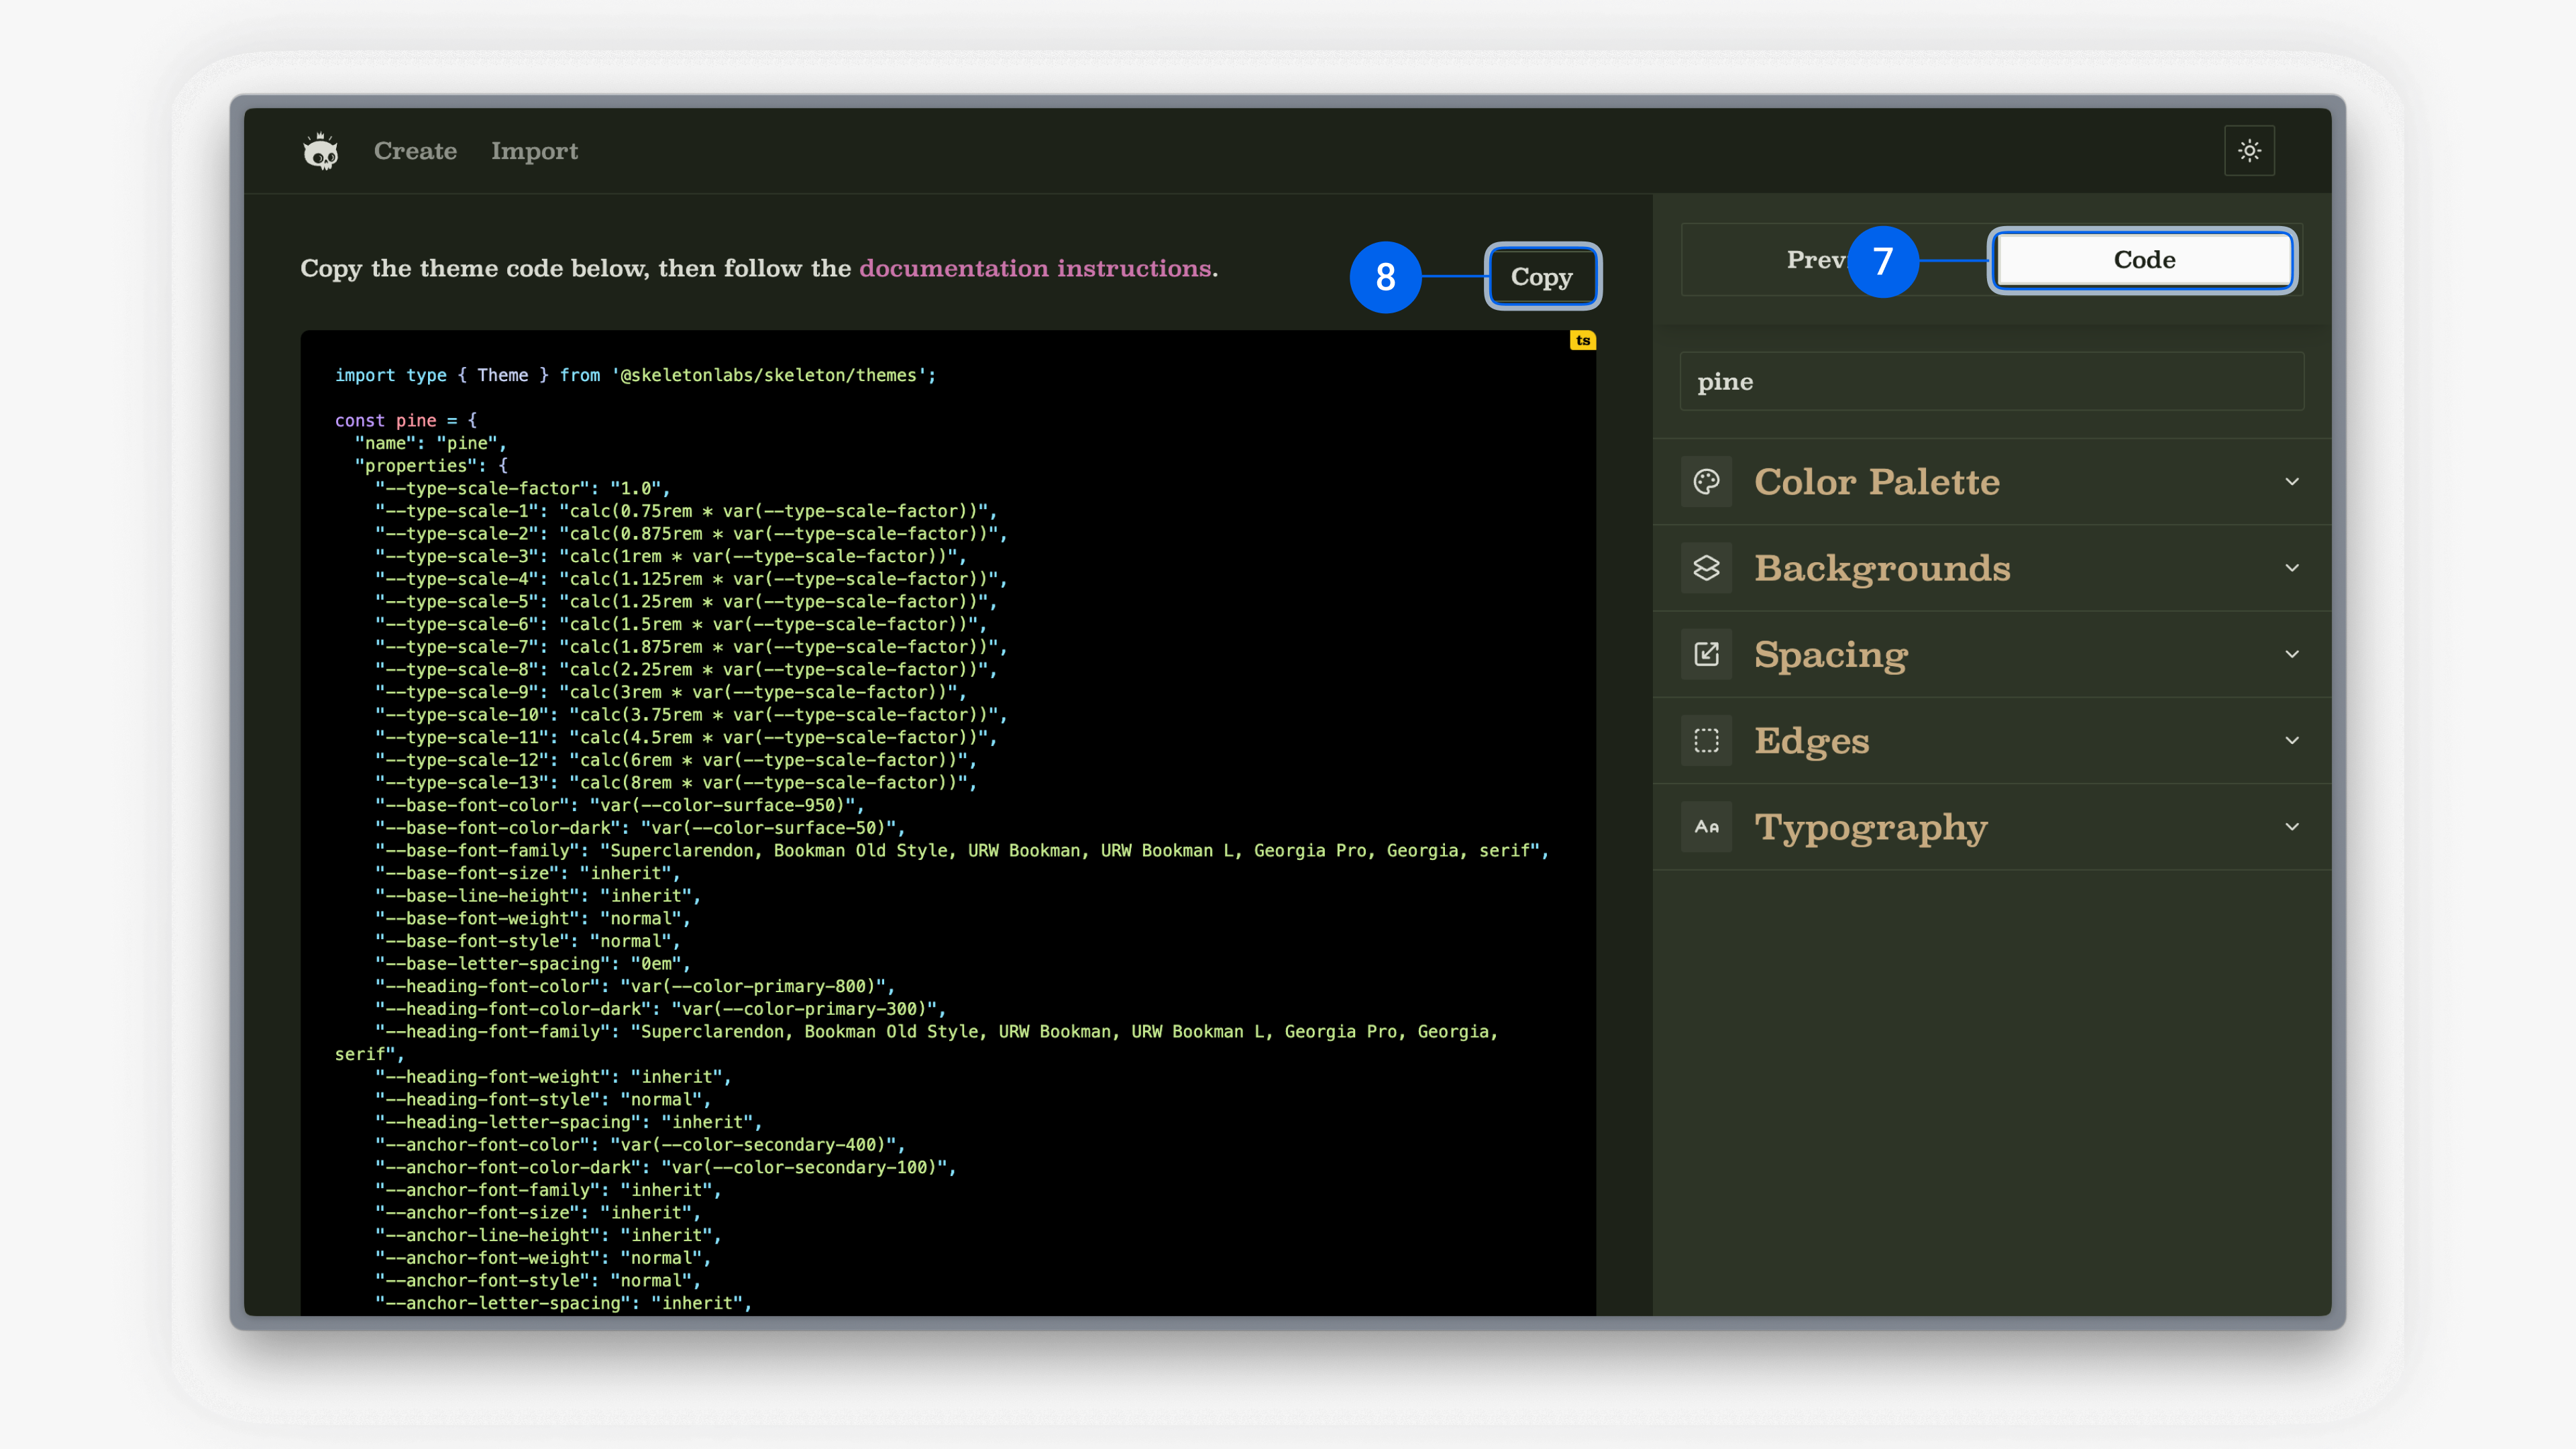
Open the Code tab in the right panel⁷ and copy the theme code⁸.
6. Paste theme
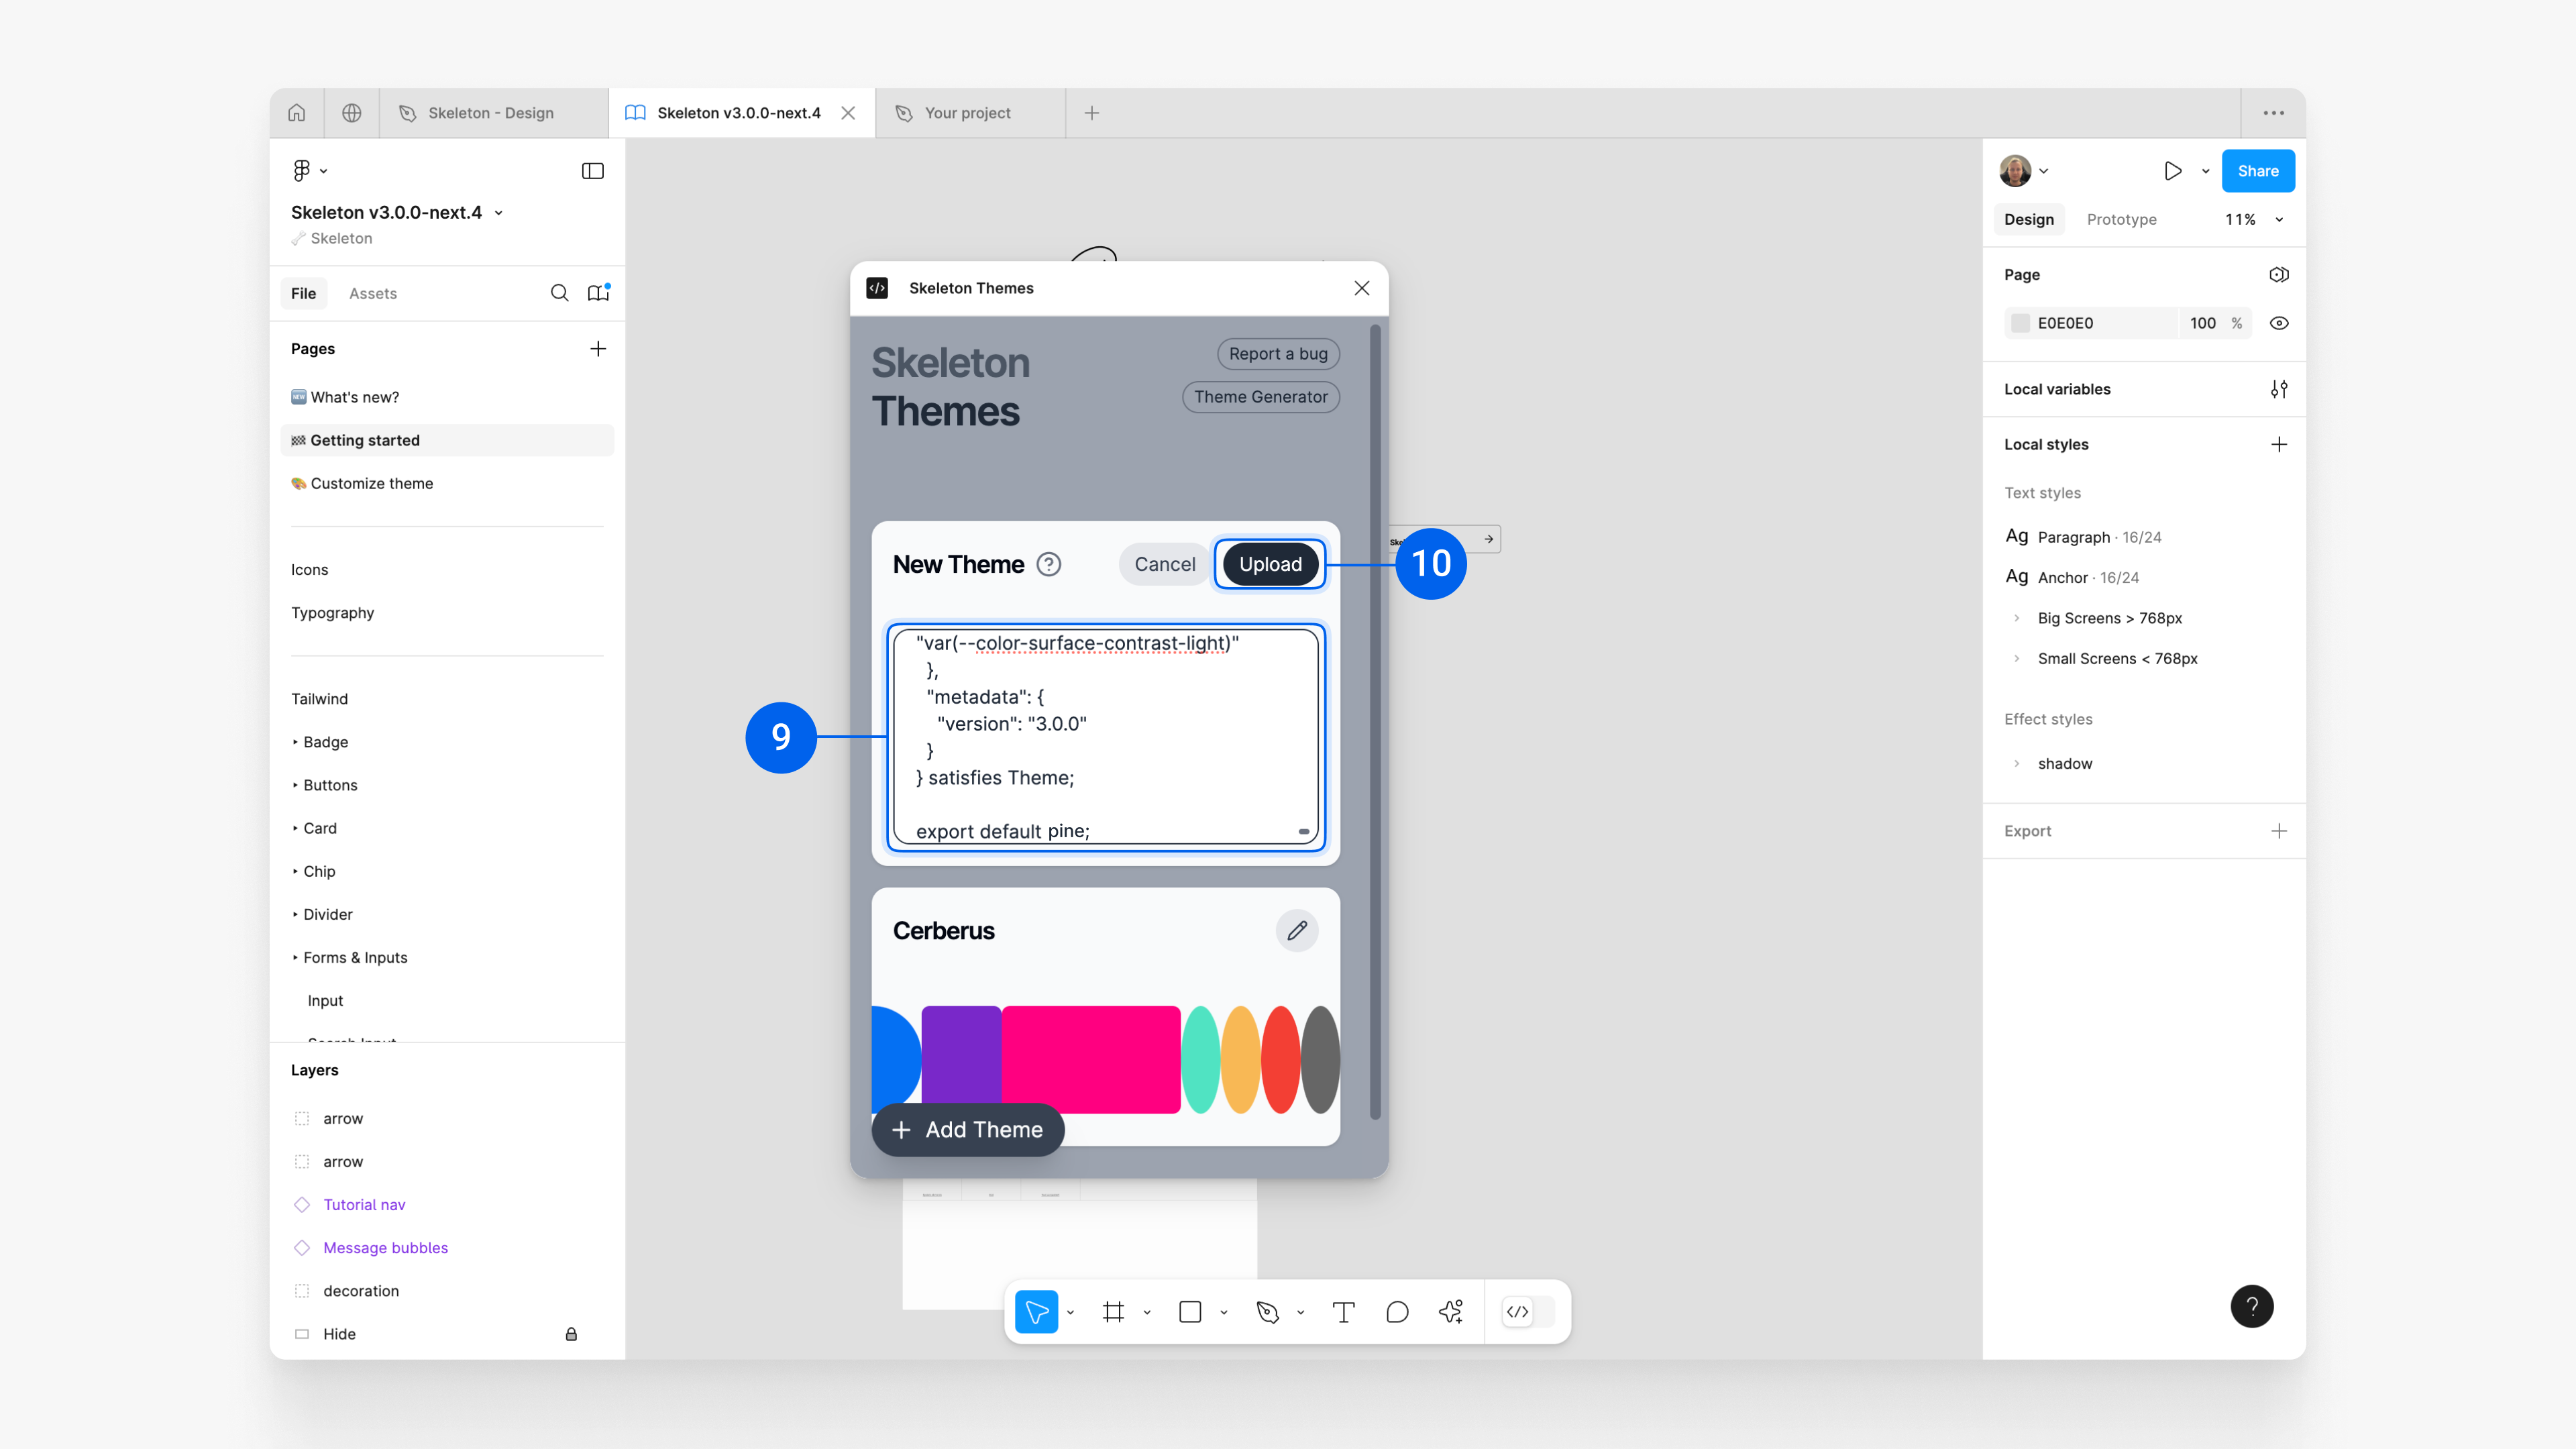
Return to the Skeleton Themes plugin in Figma, paste the theme code⁹, and click Upload¹⁰.
Note: Uploading the theme may take 3–5 minutes, depending on your device.
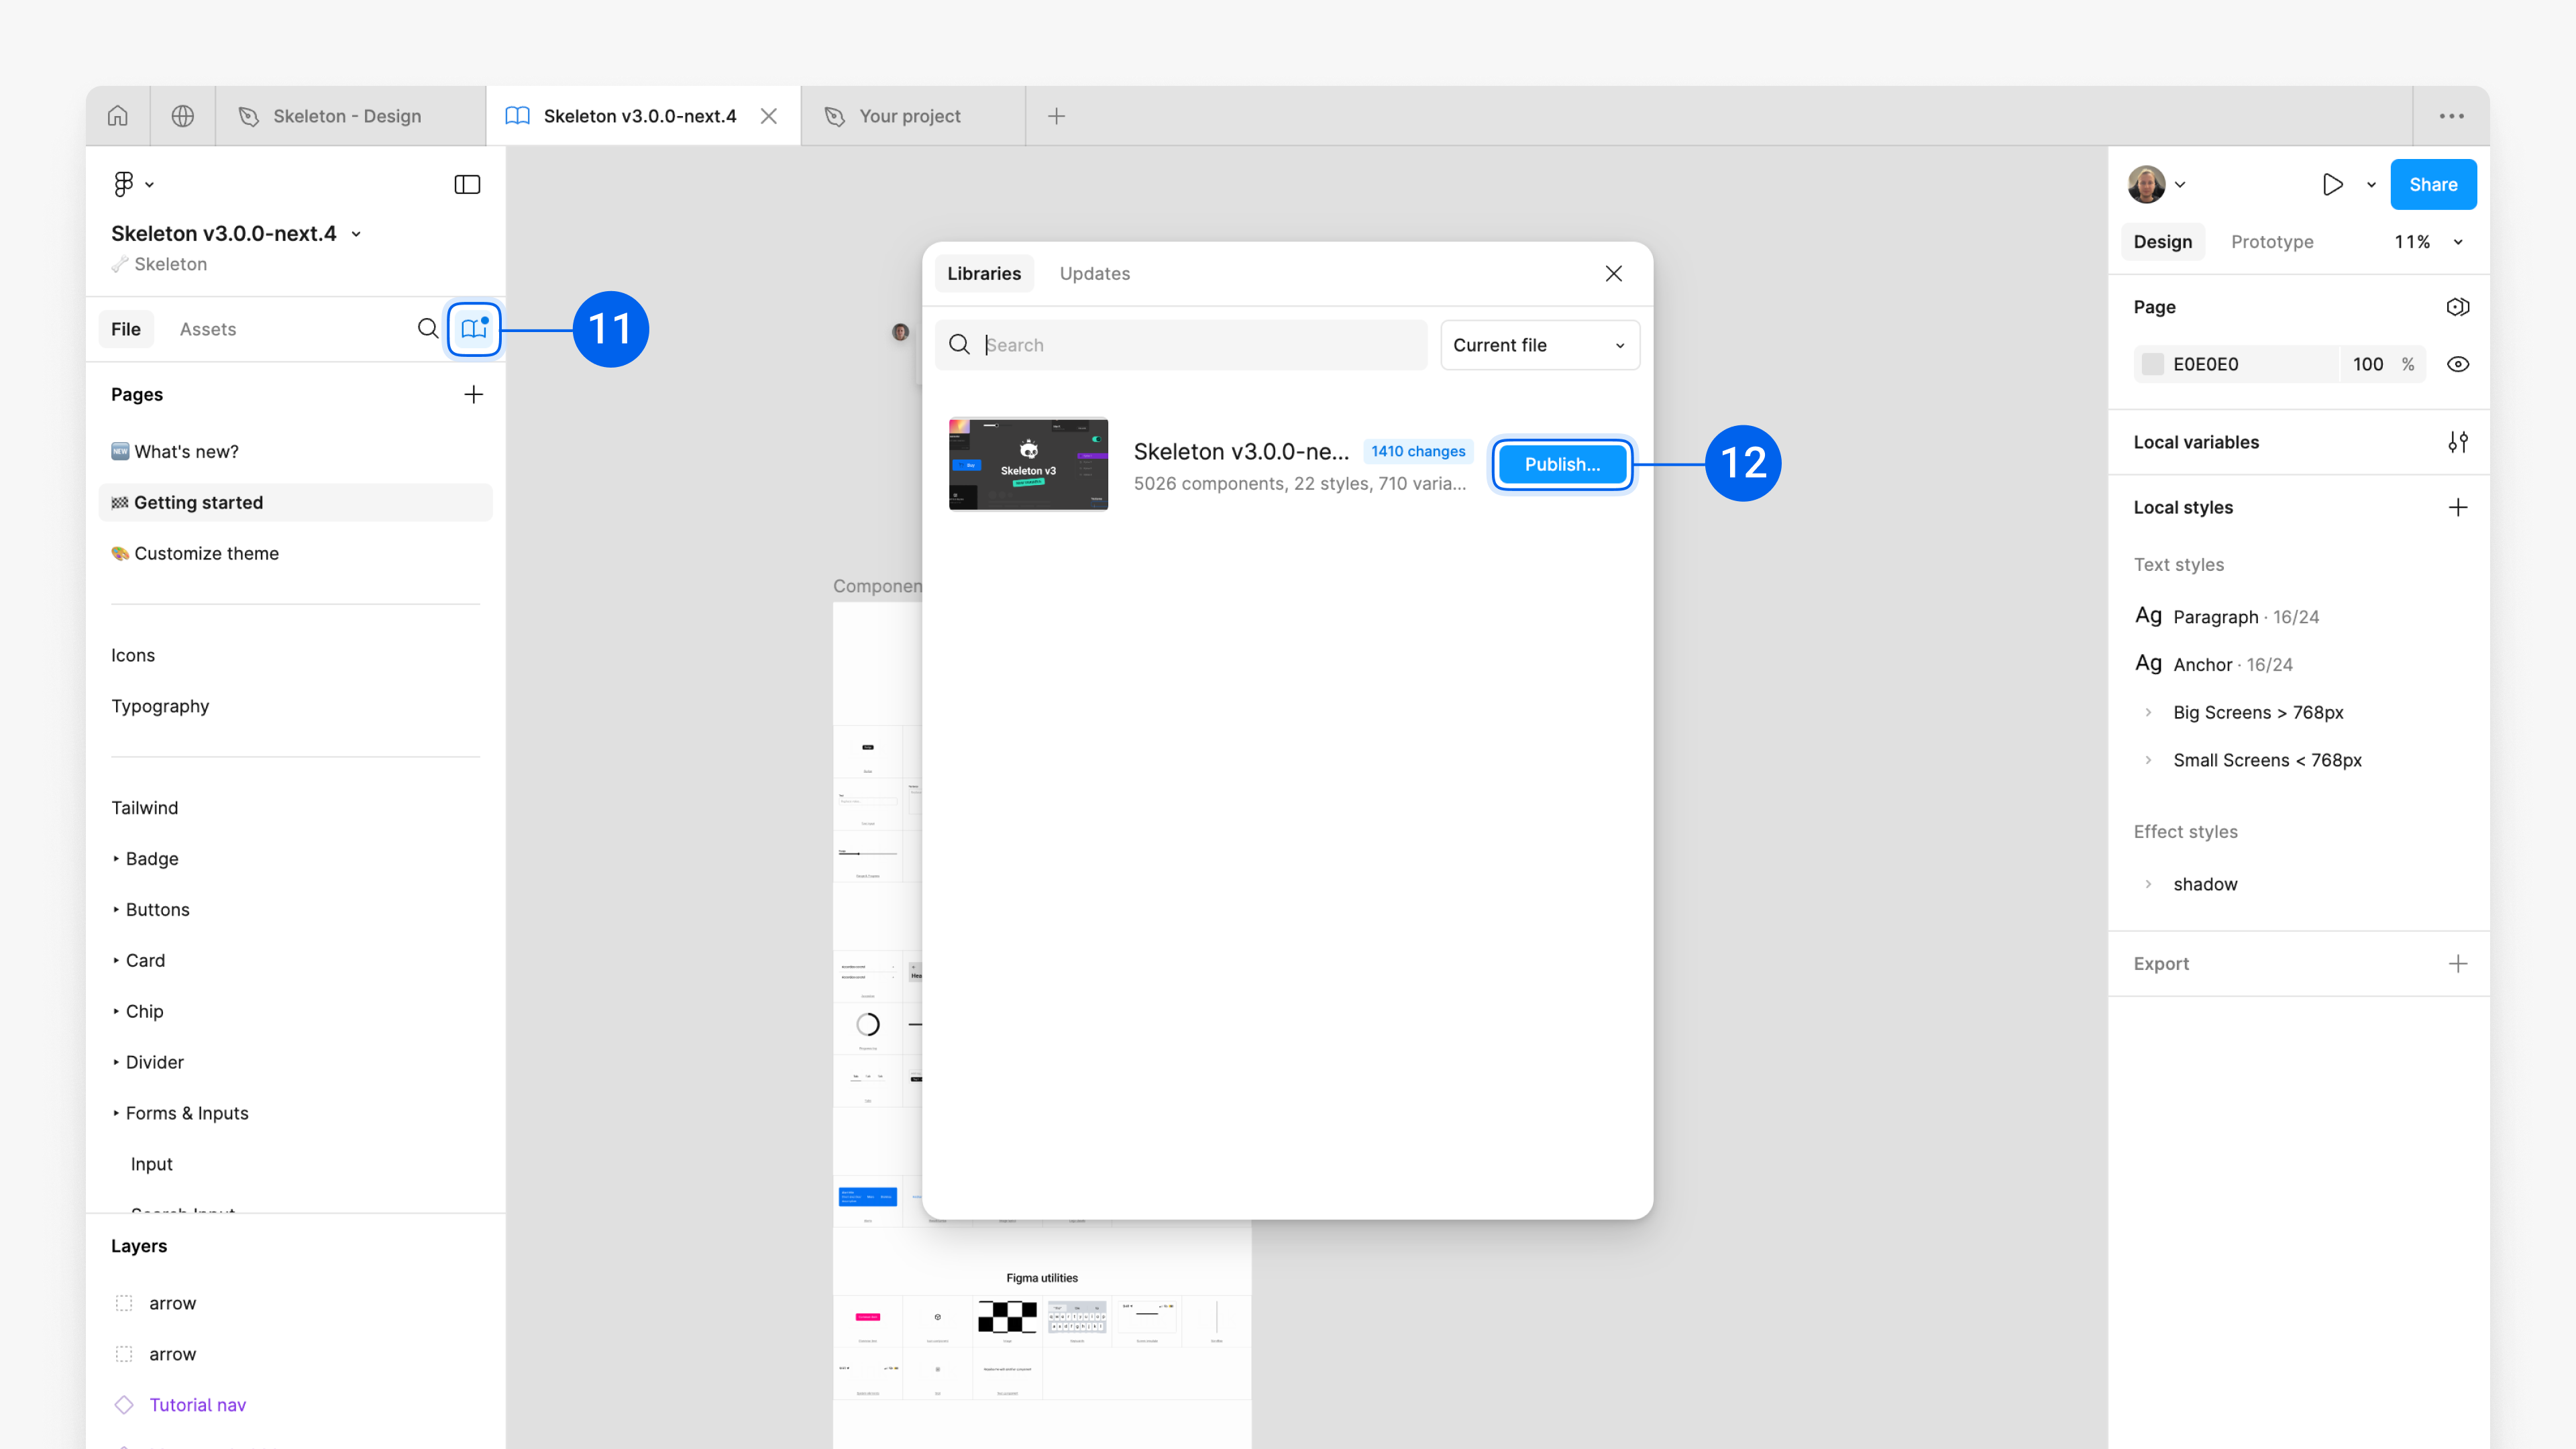
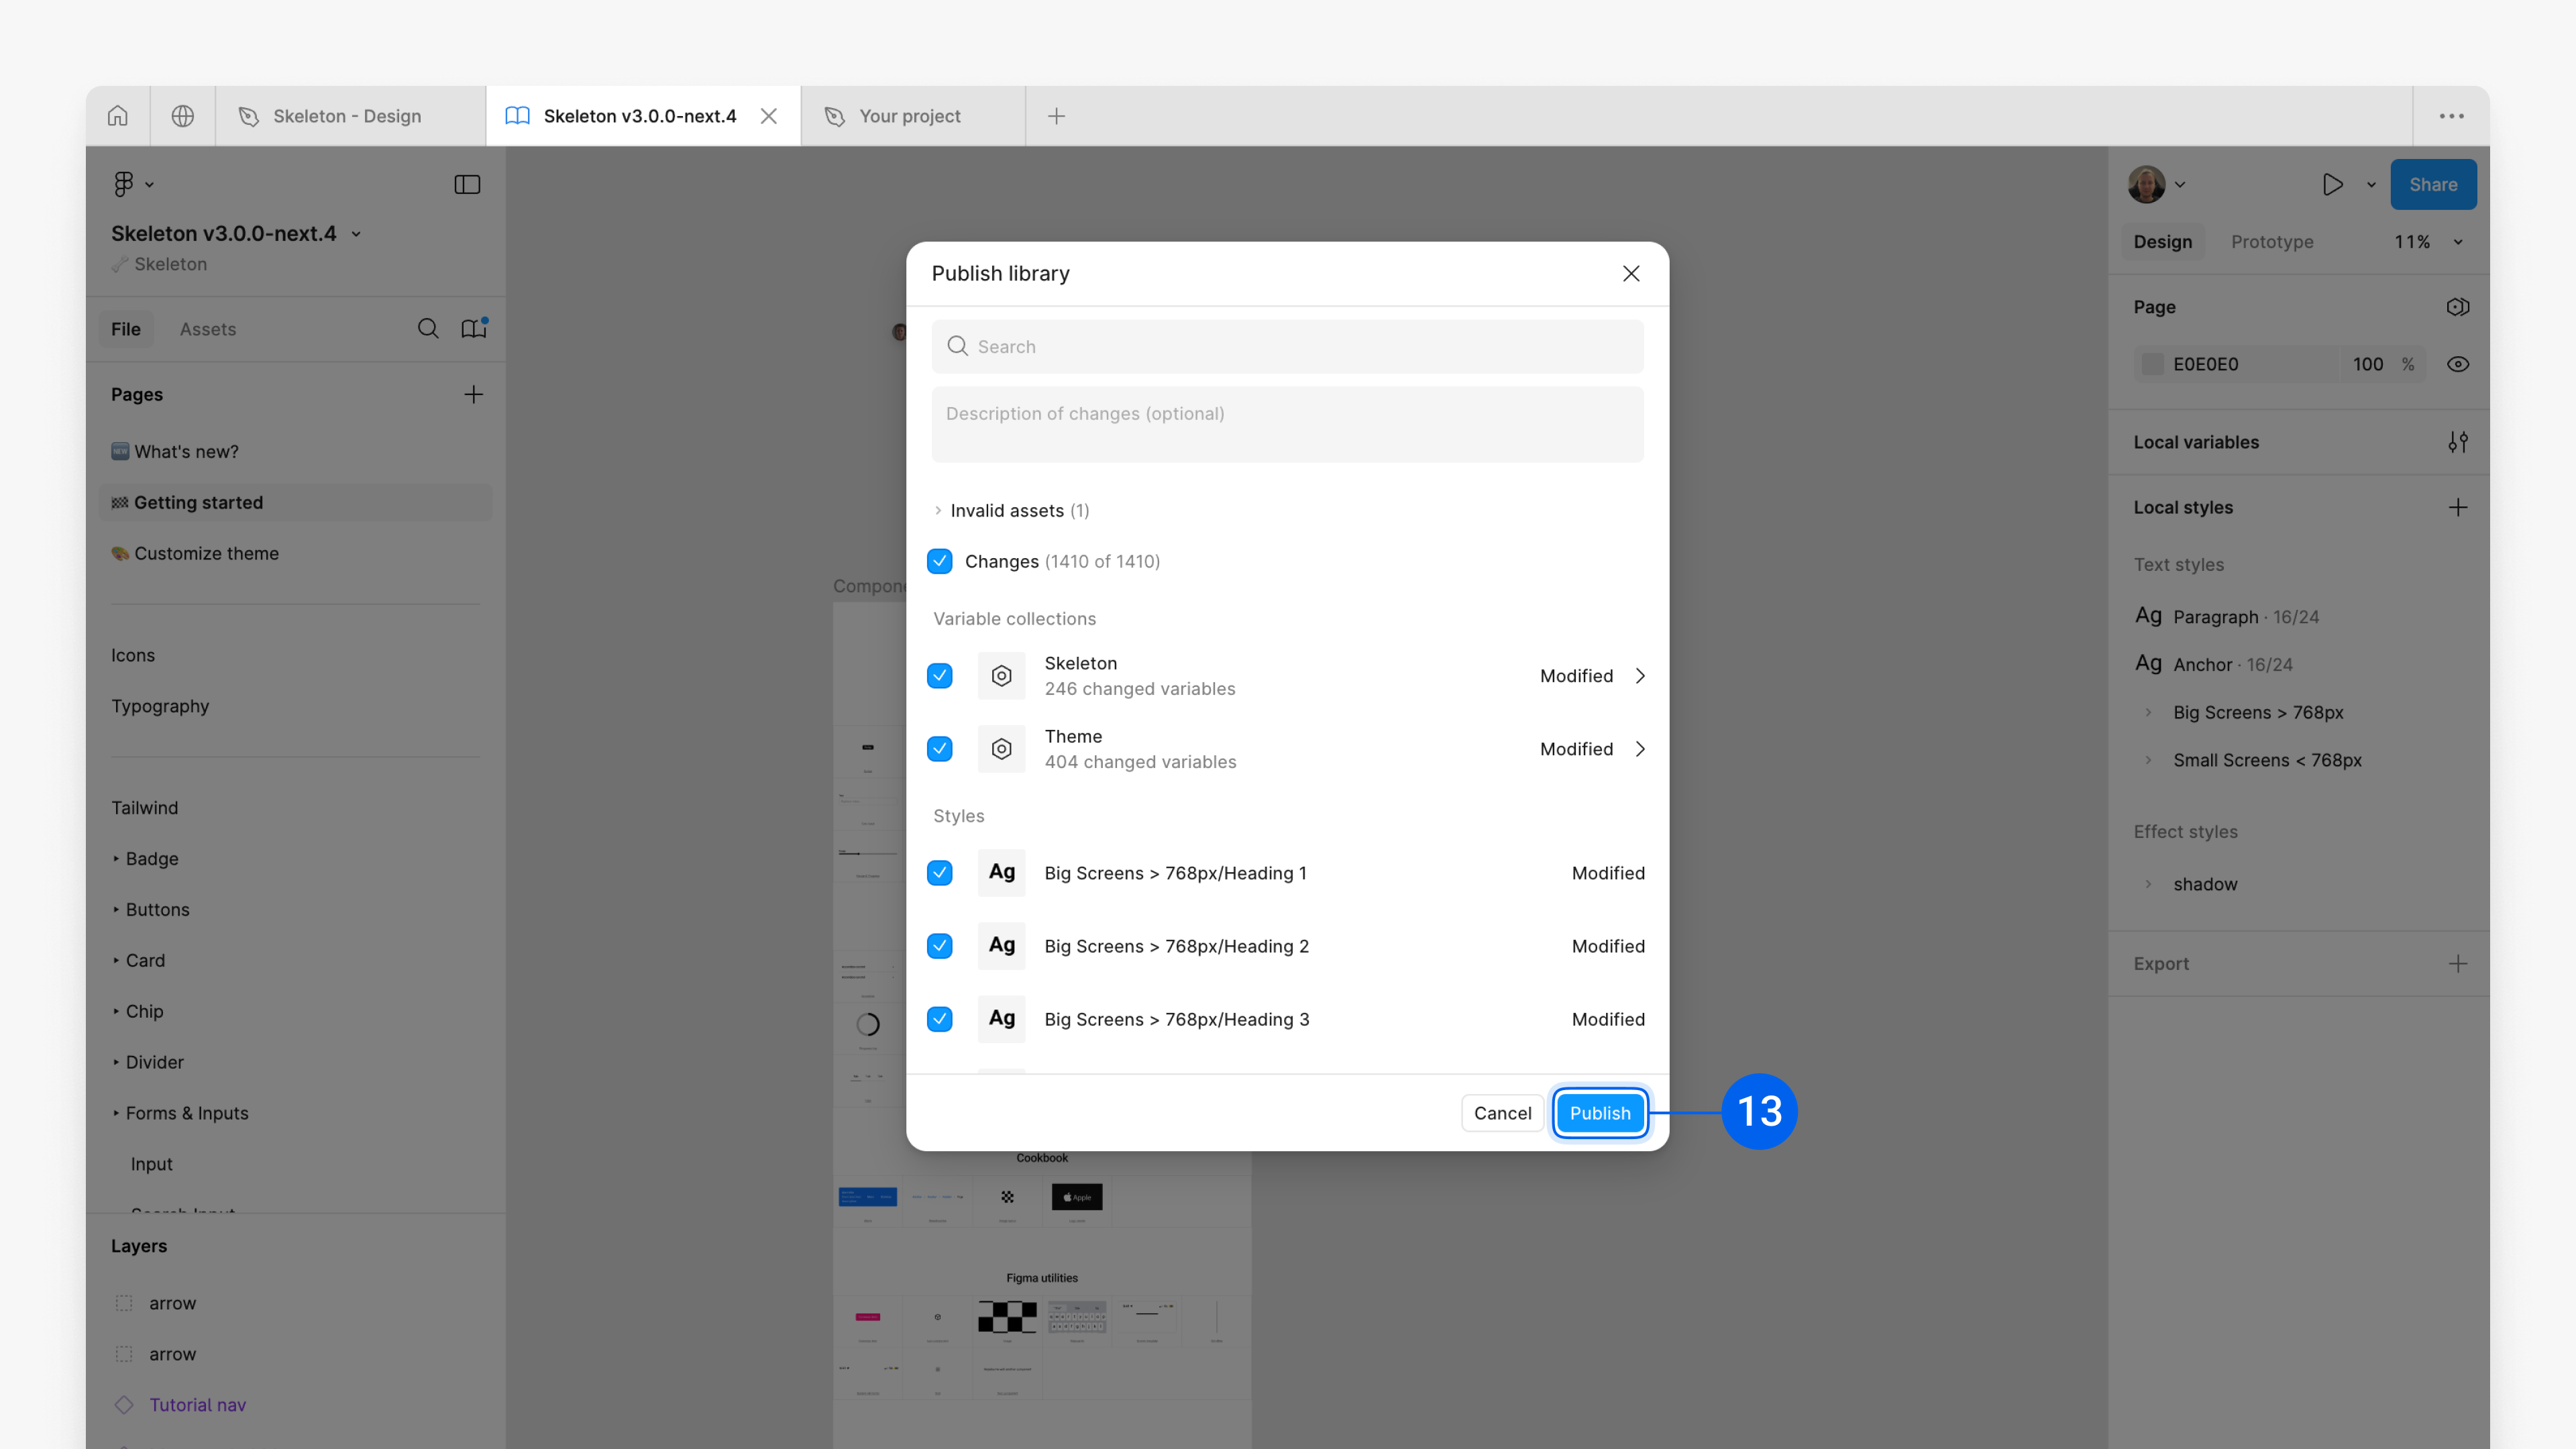
7. Publish updates
After uploading, publish the library to make the new theme accessible. In the left panel, click the Book icon¹¹, then click the Publish... button¹². When the modal appears, click Publish again¹³.
Note: Publishing may take 5–7 minutes.
Apply Custom Theme in Project
Prerequisites
Completed: Chapter 1: Setup & Usage
Completed: Chapter 2: Import Custom Theme
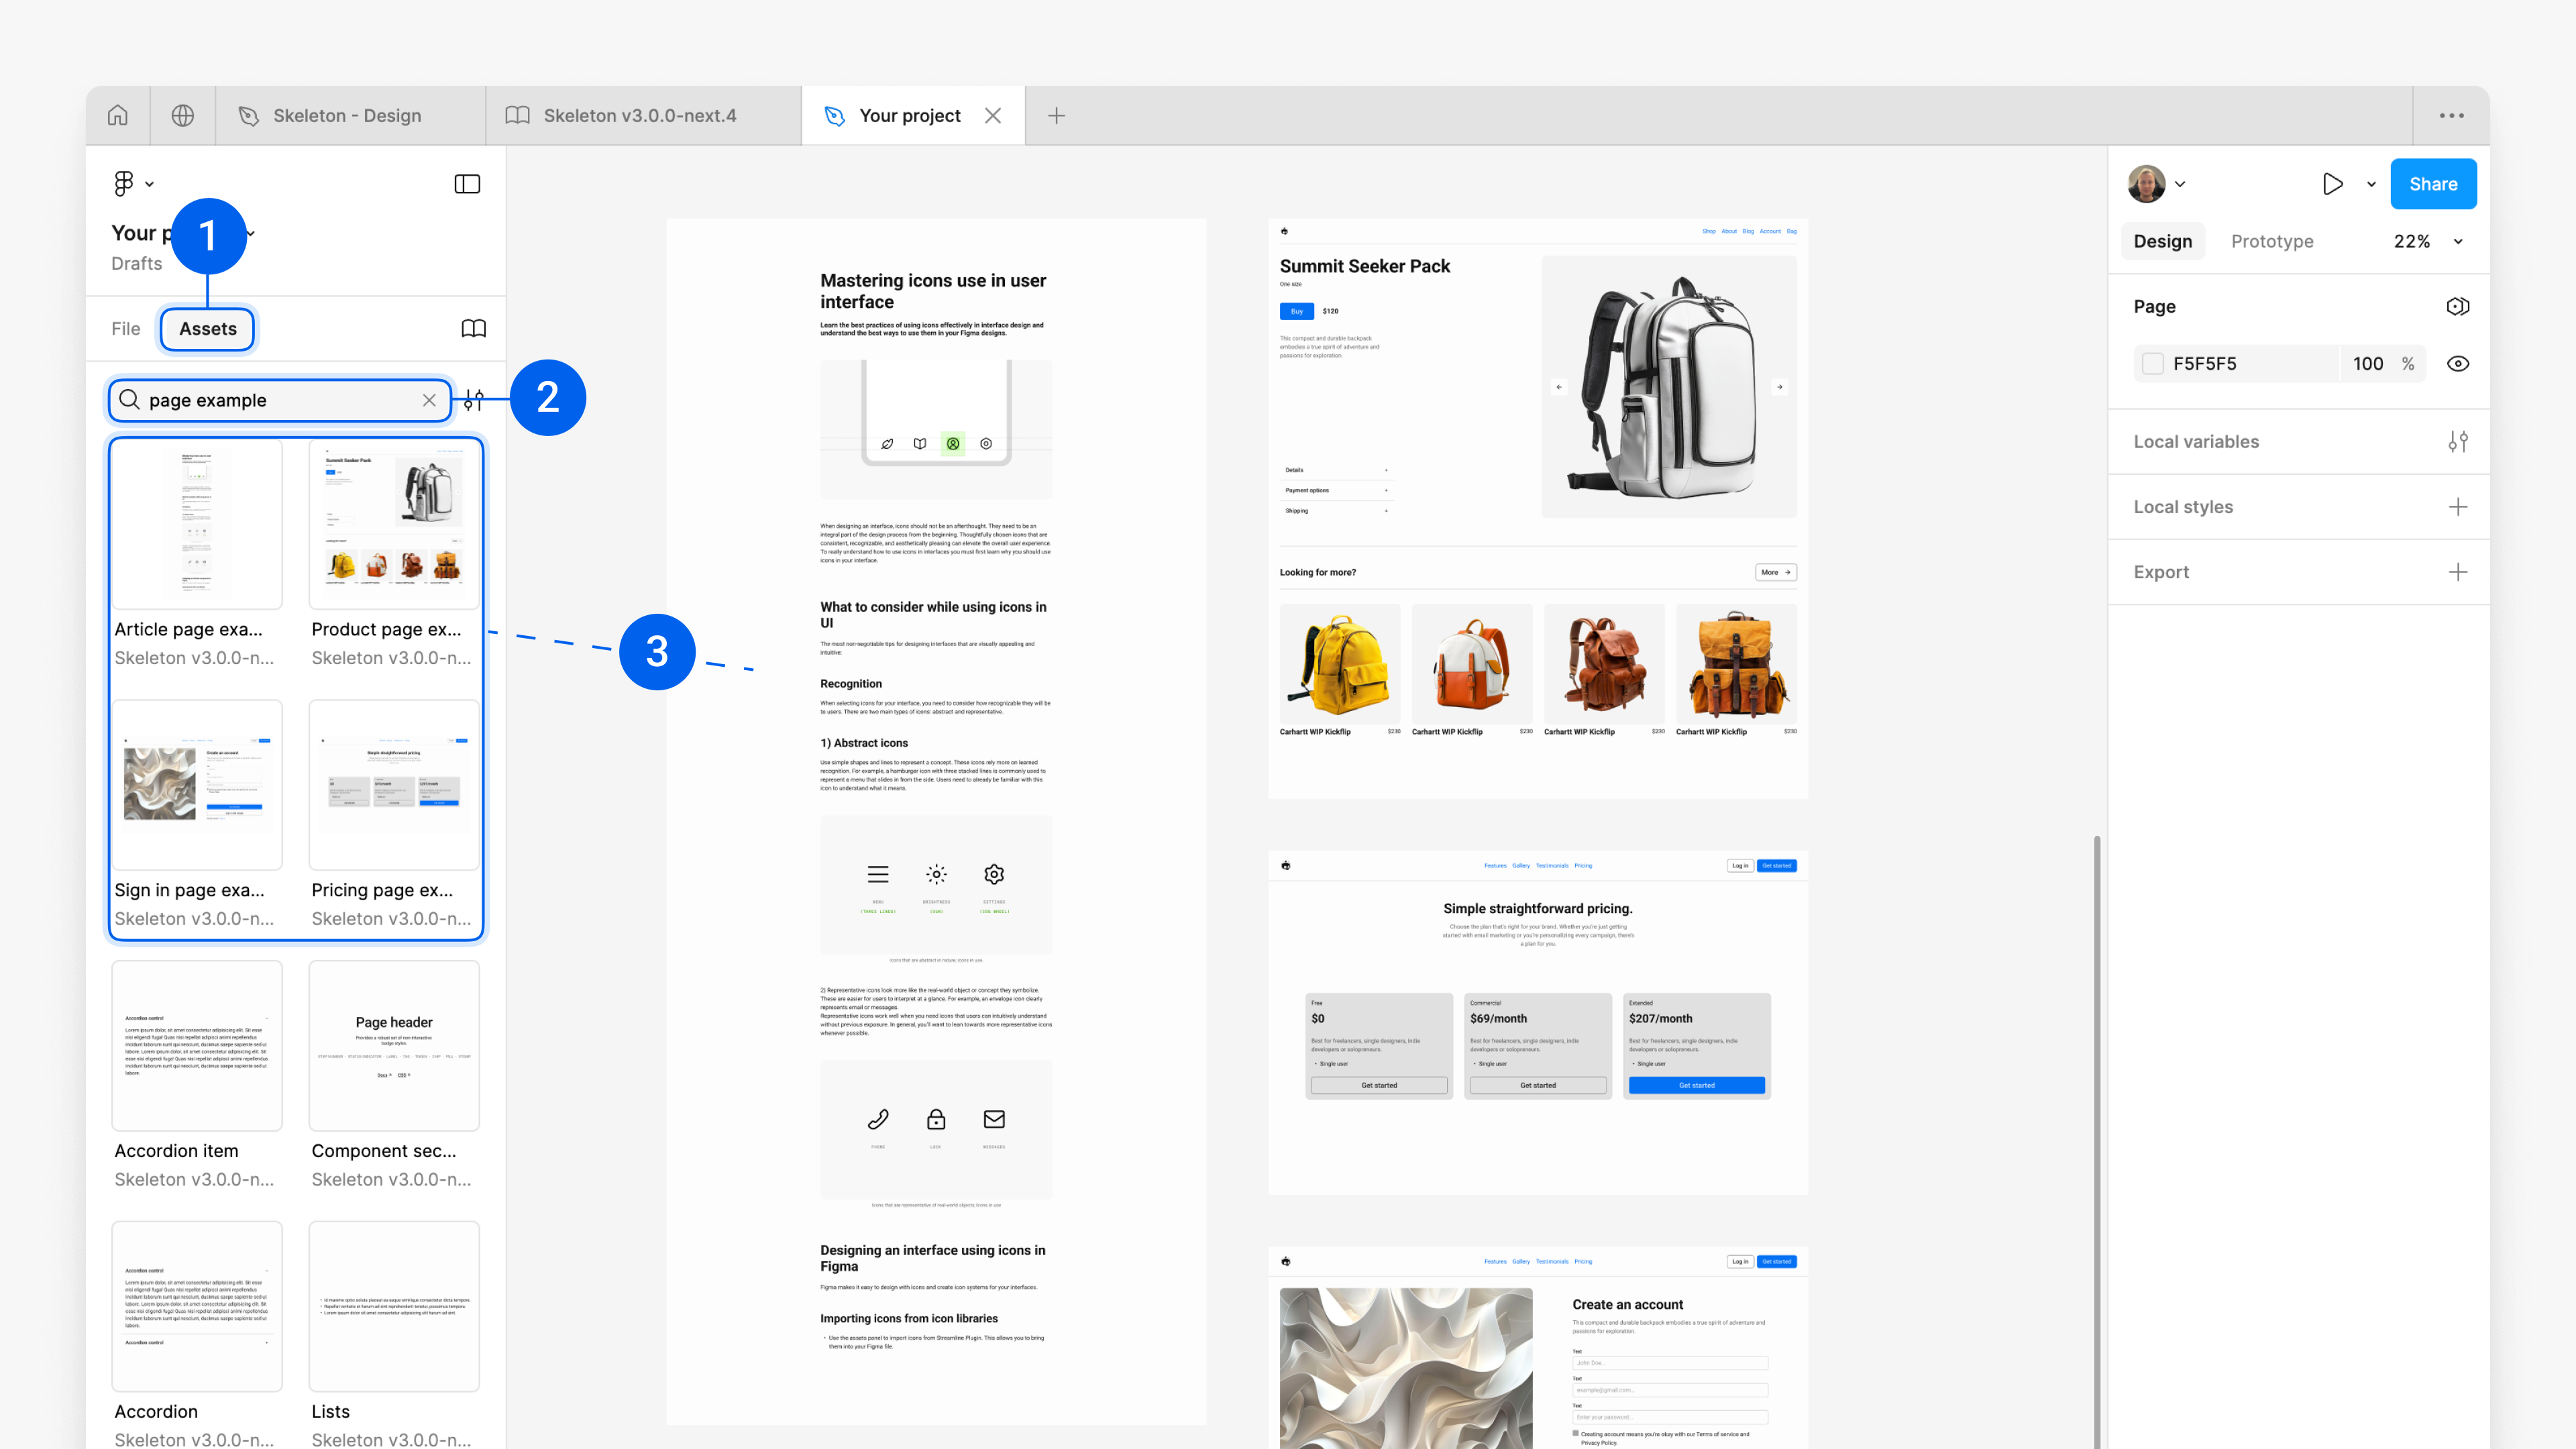
1. Open Project
Open the project where the Skeleton Figma Library is applied.
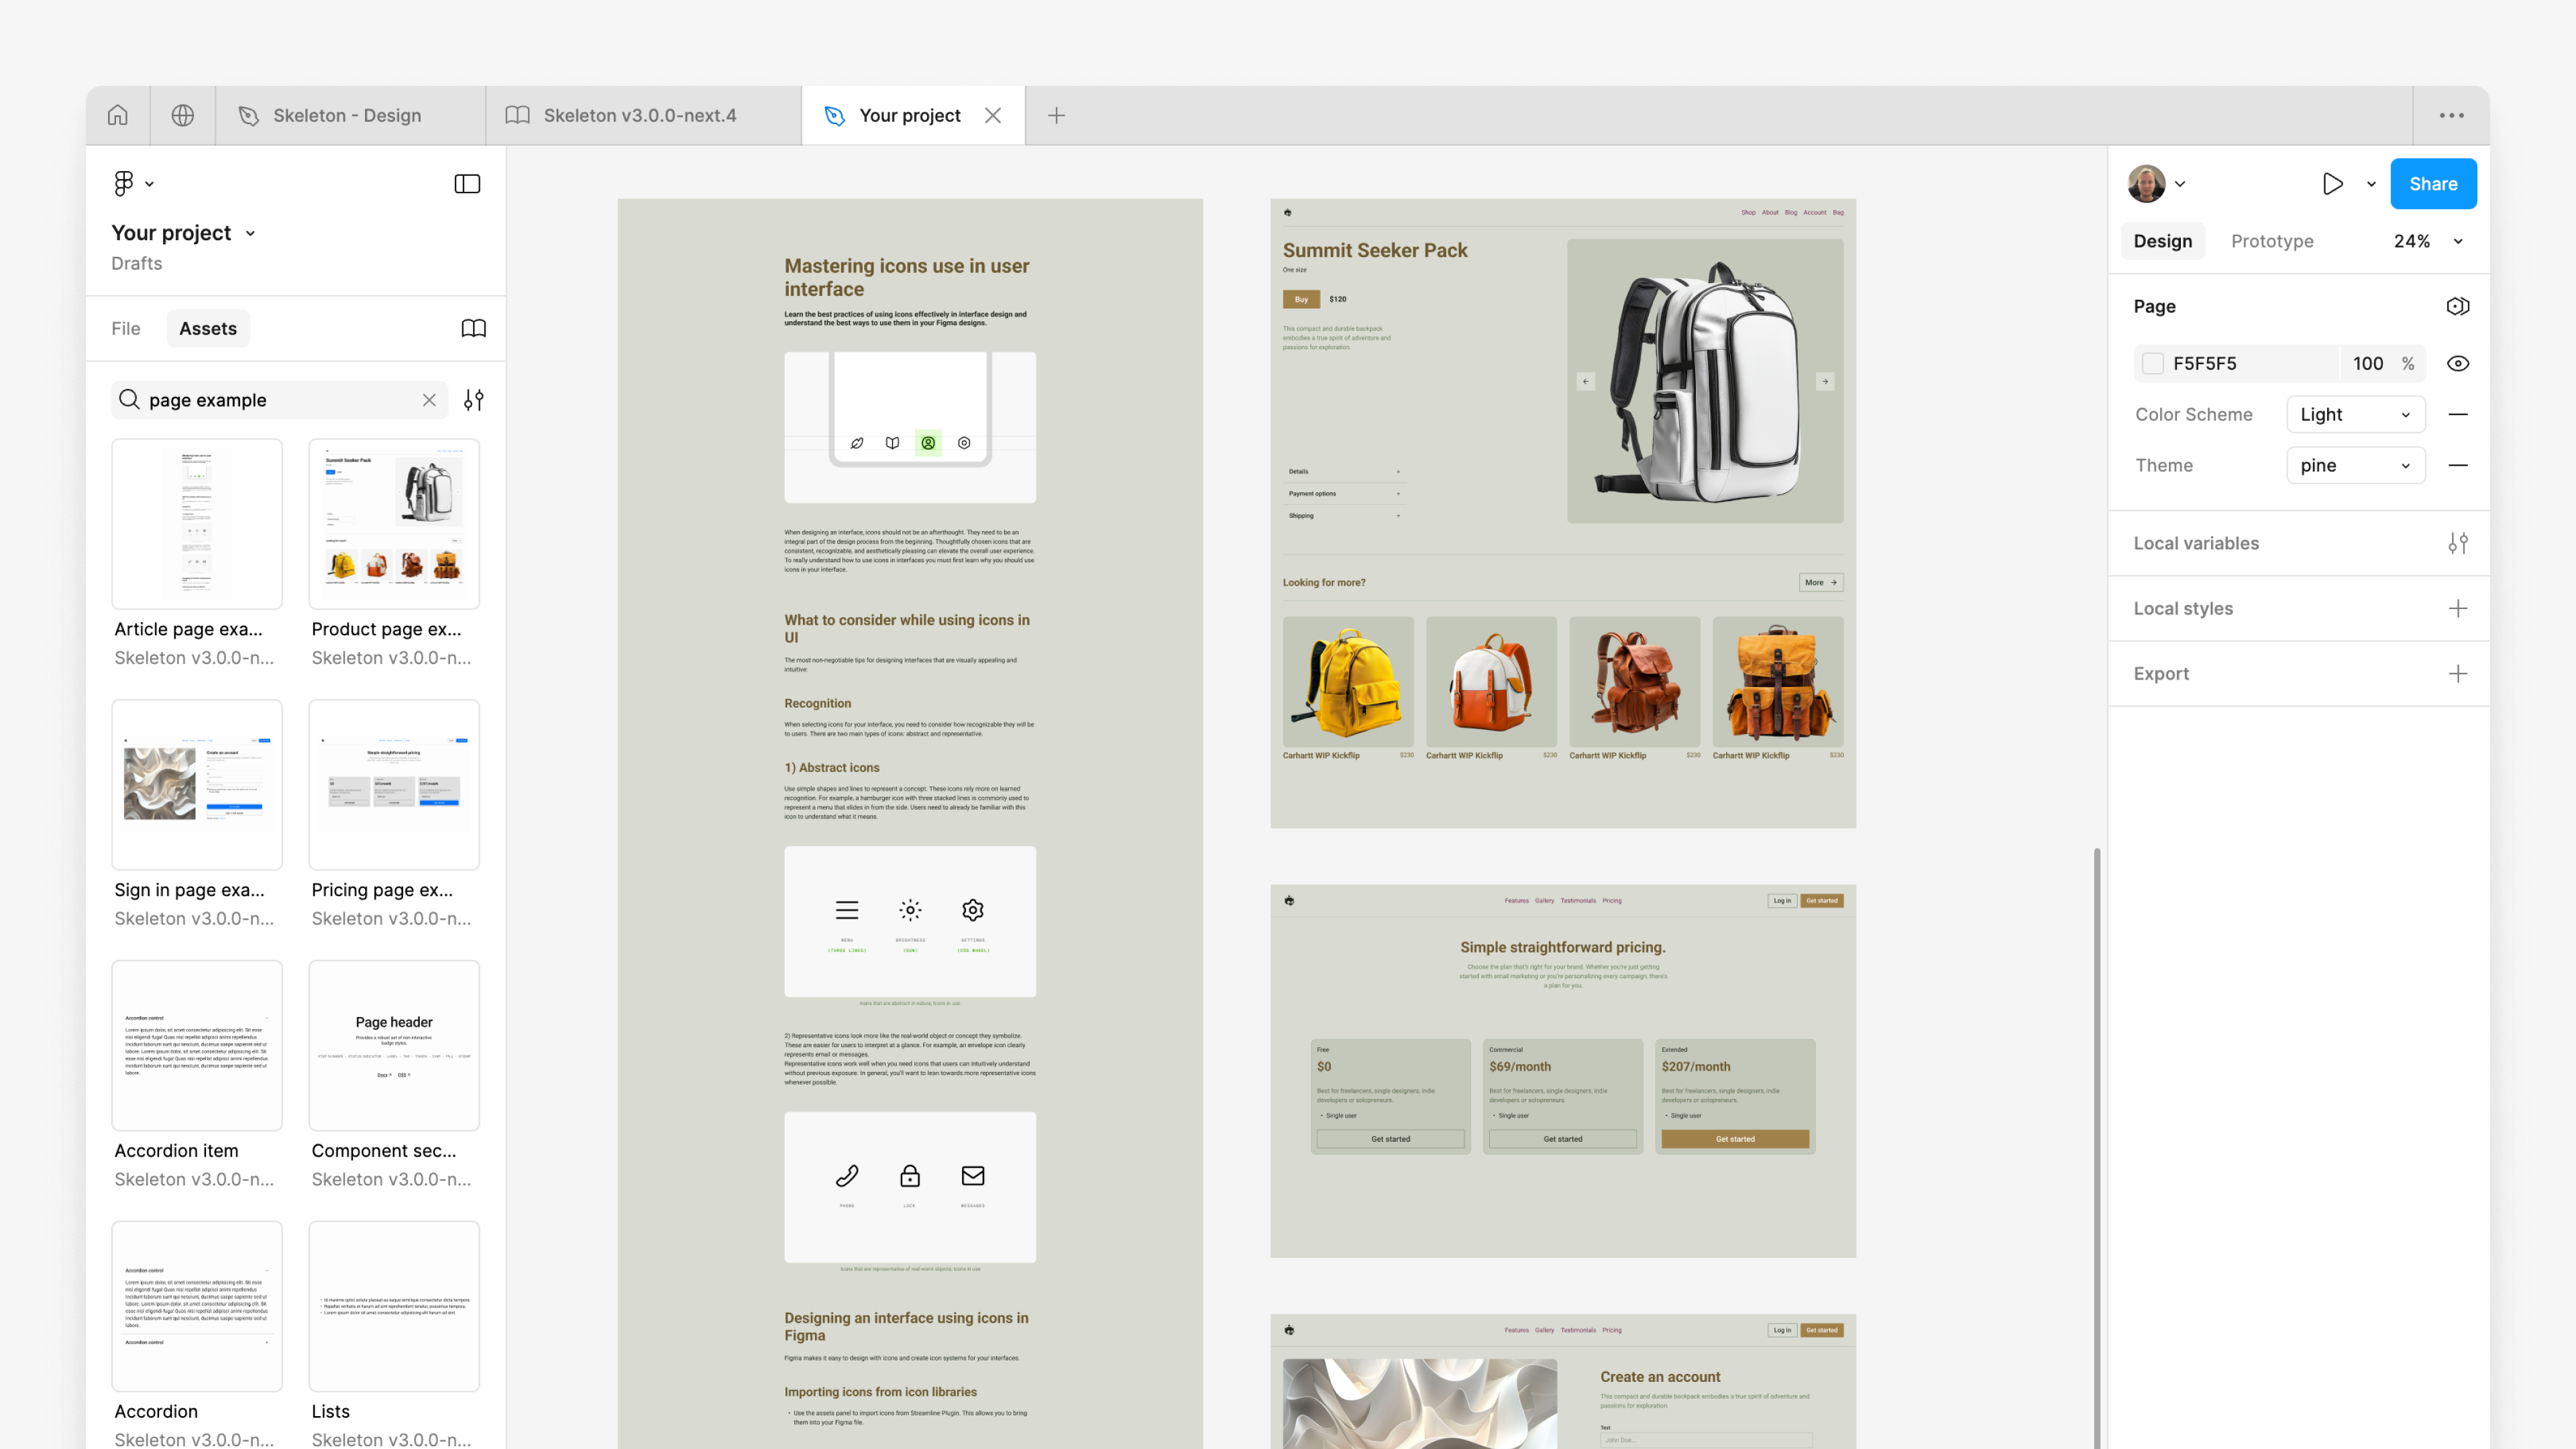
2. Set the stage
Add page examples components on the canvas to preview your theme.
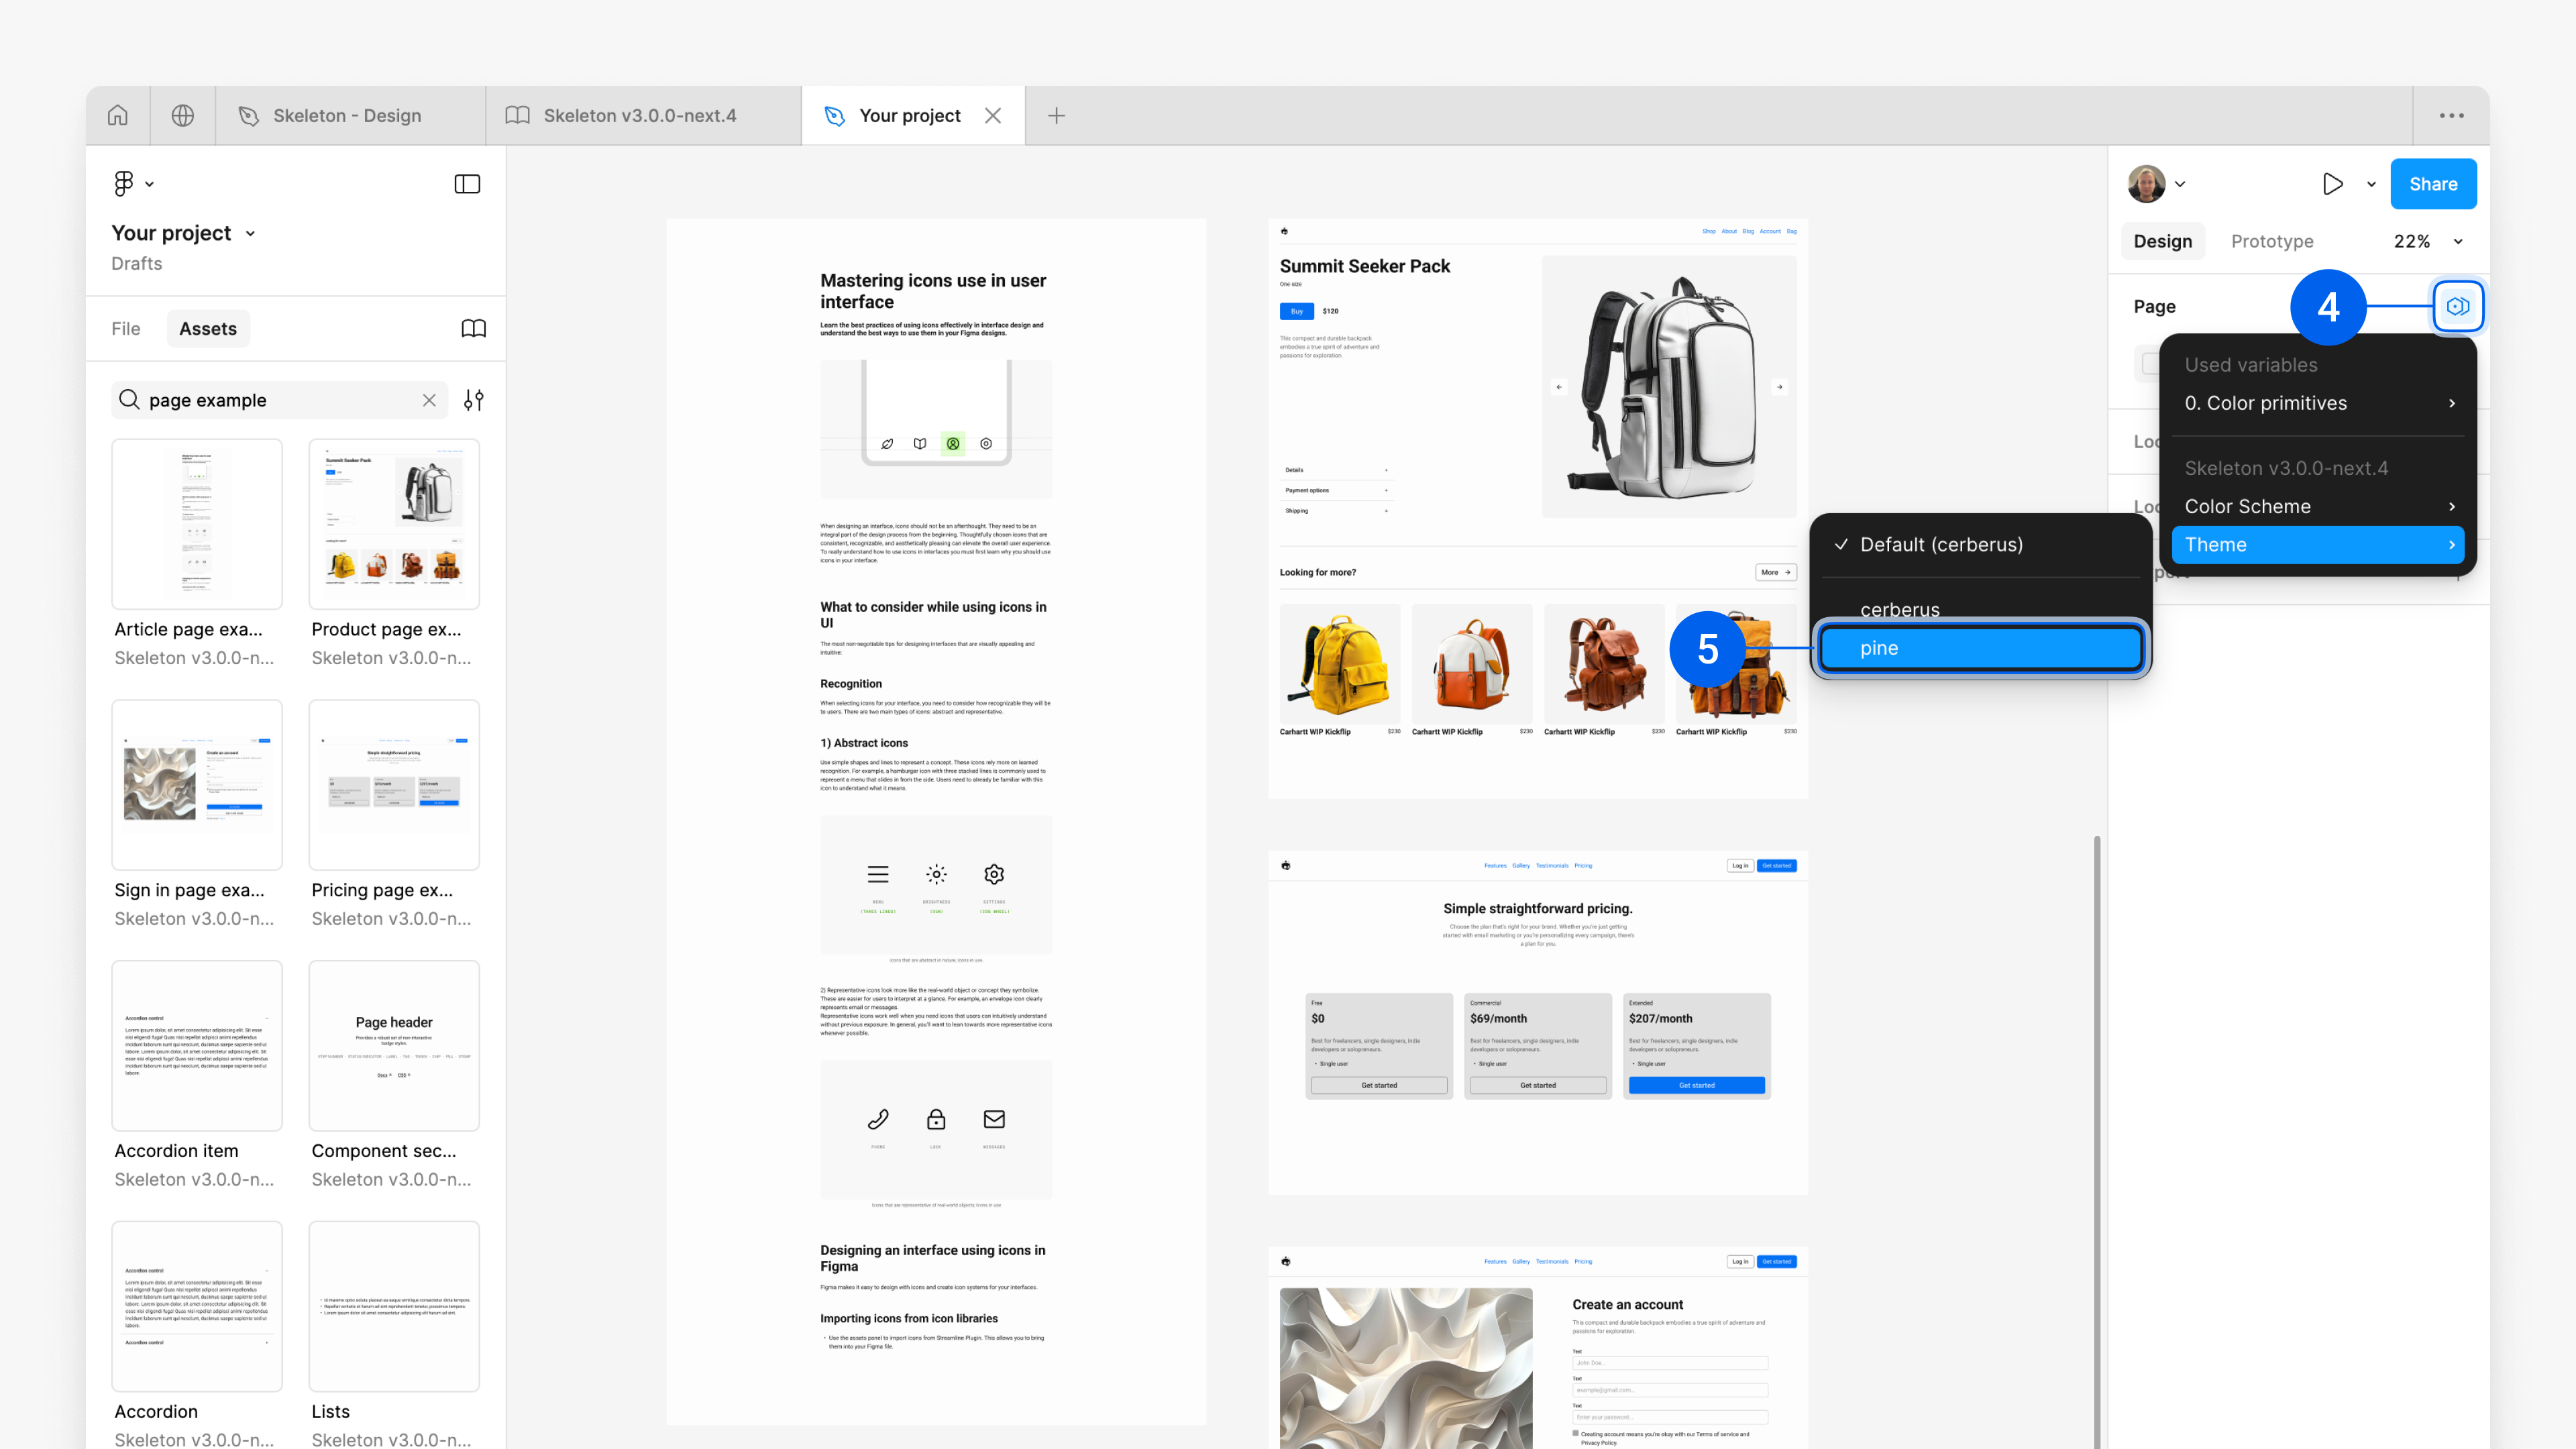
3. Switch theme
In the Pages section⁴ on the right panel, click Apply variable mode, hover over Theme, and select your imported theme⁵.
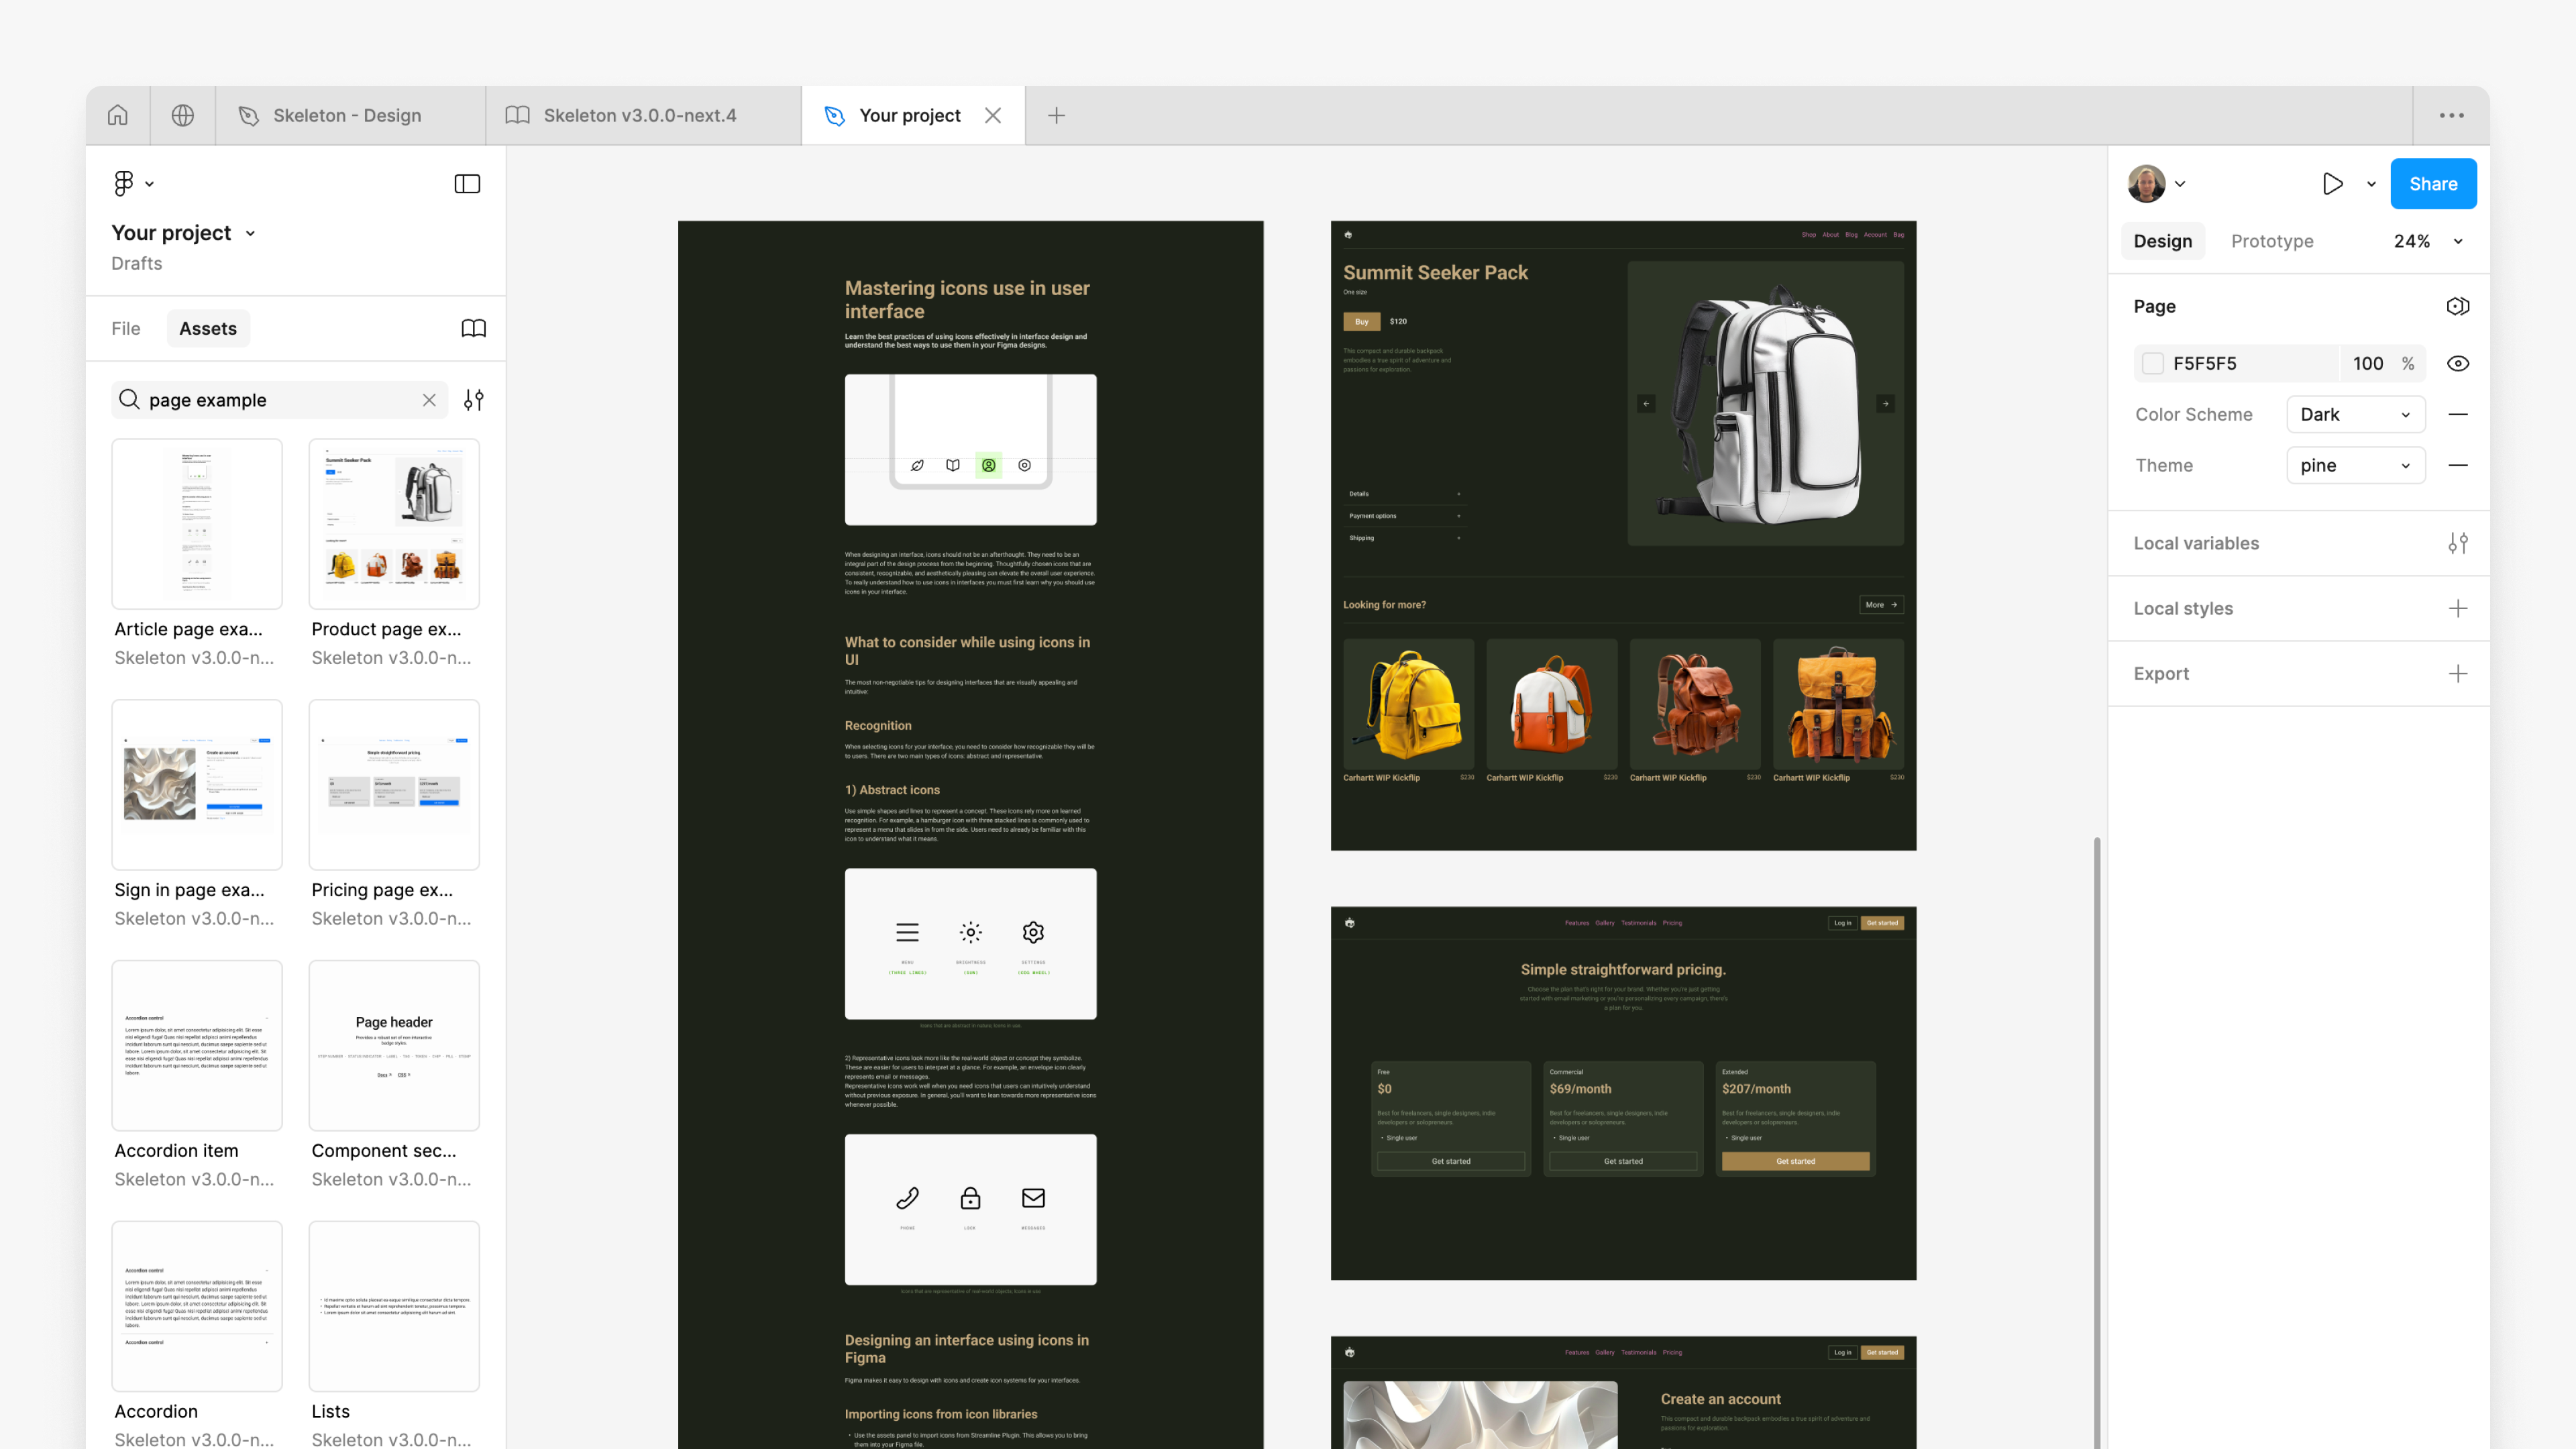
Voilà! Your theme is now applied to the components.
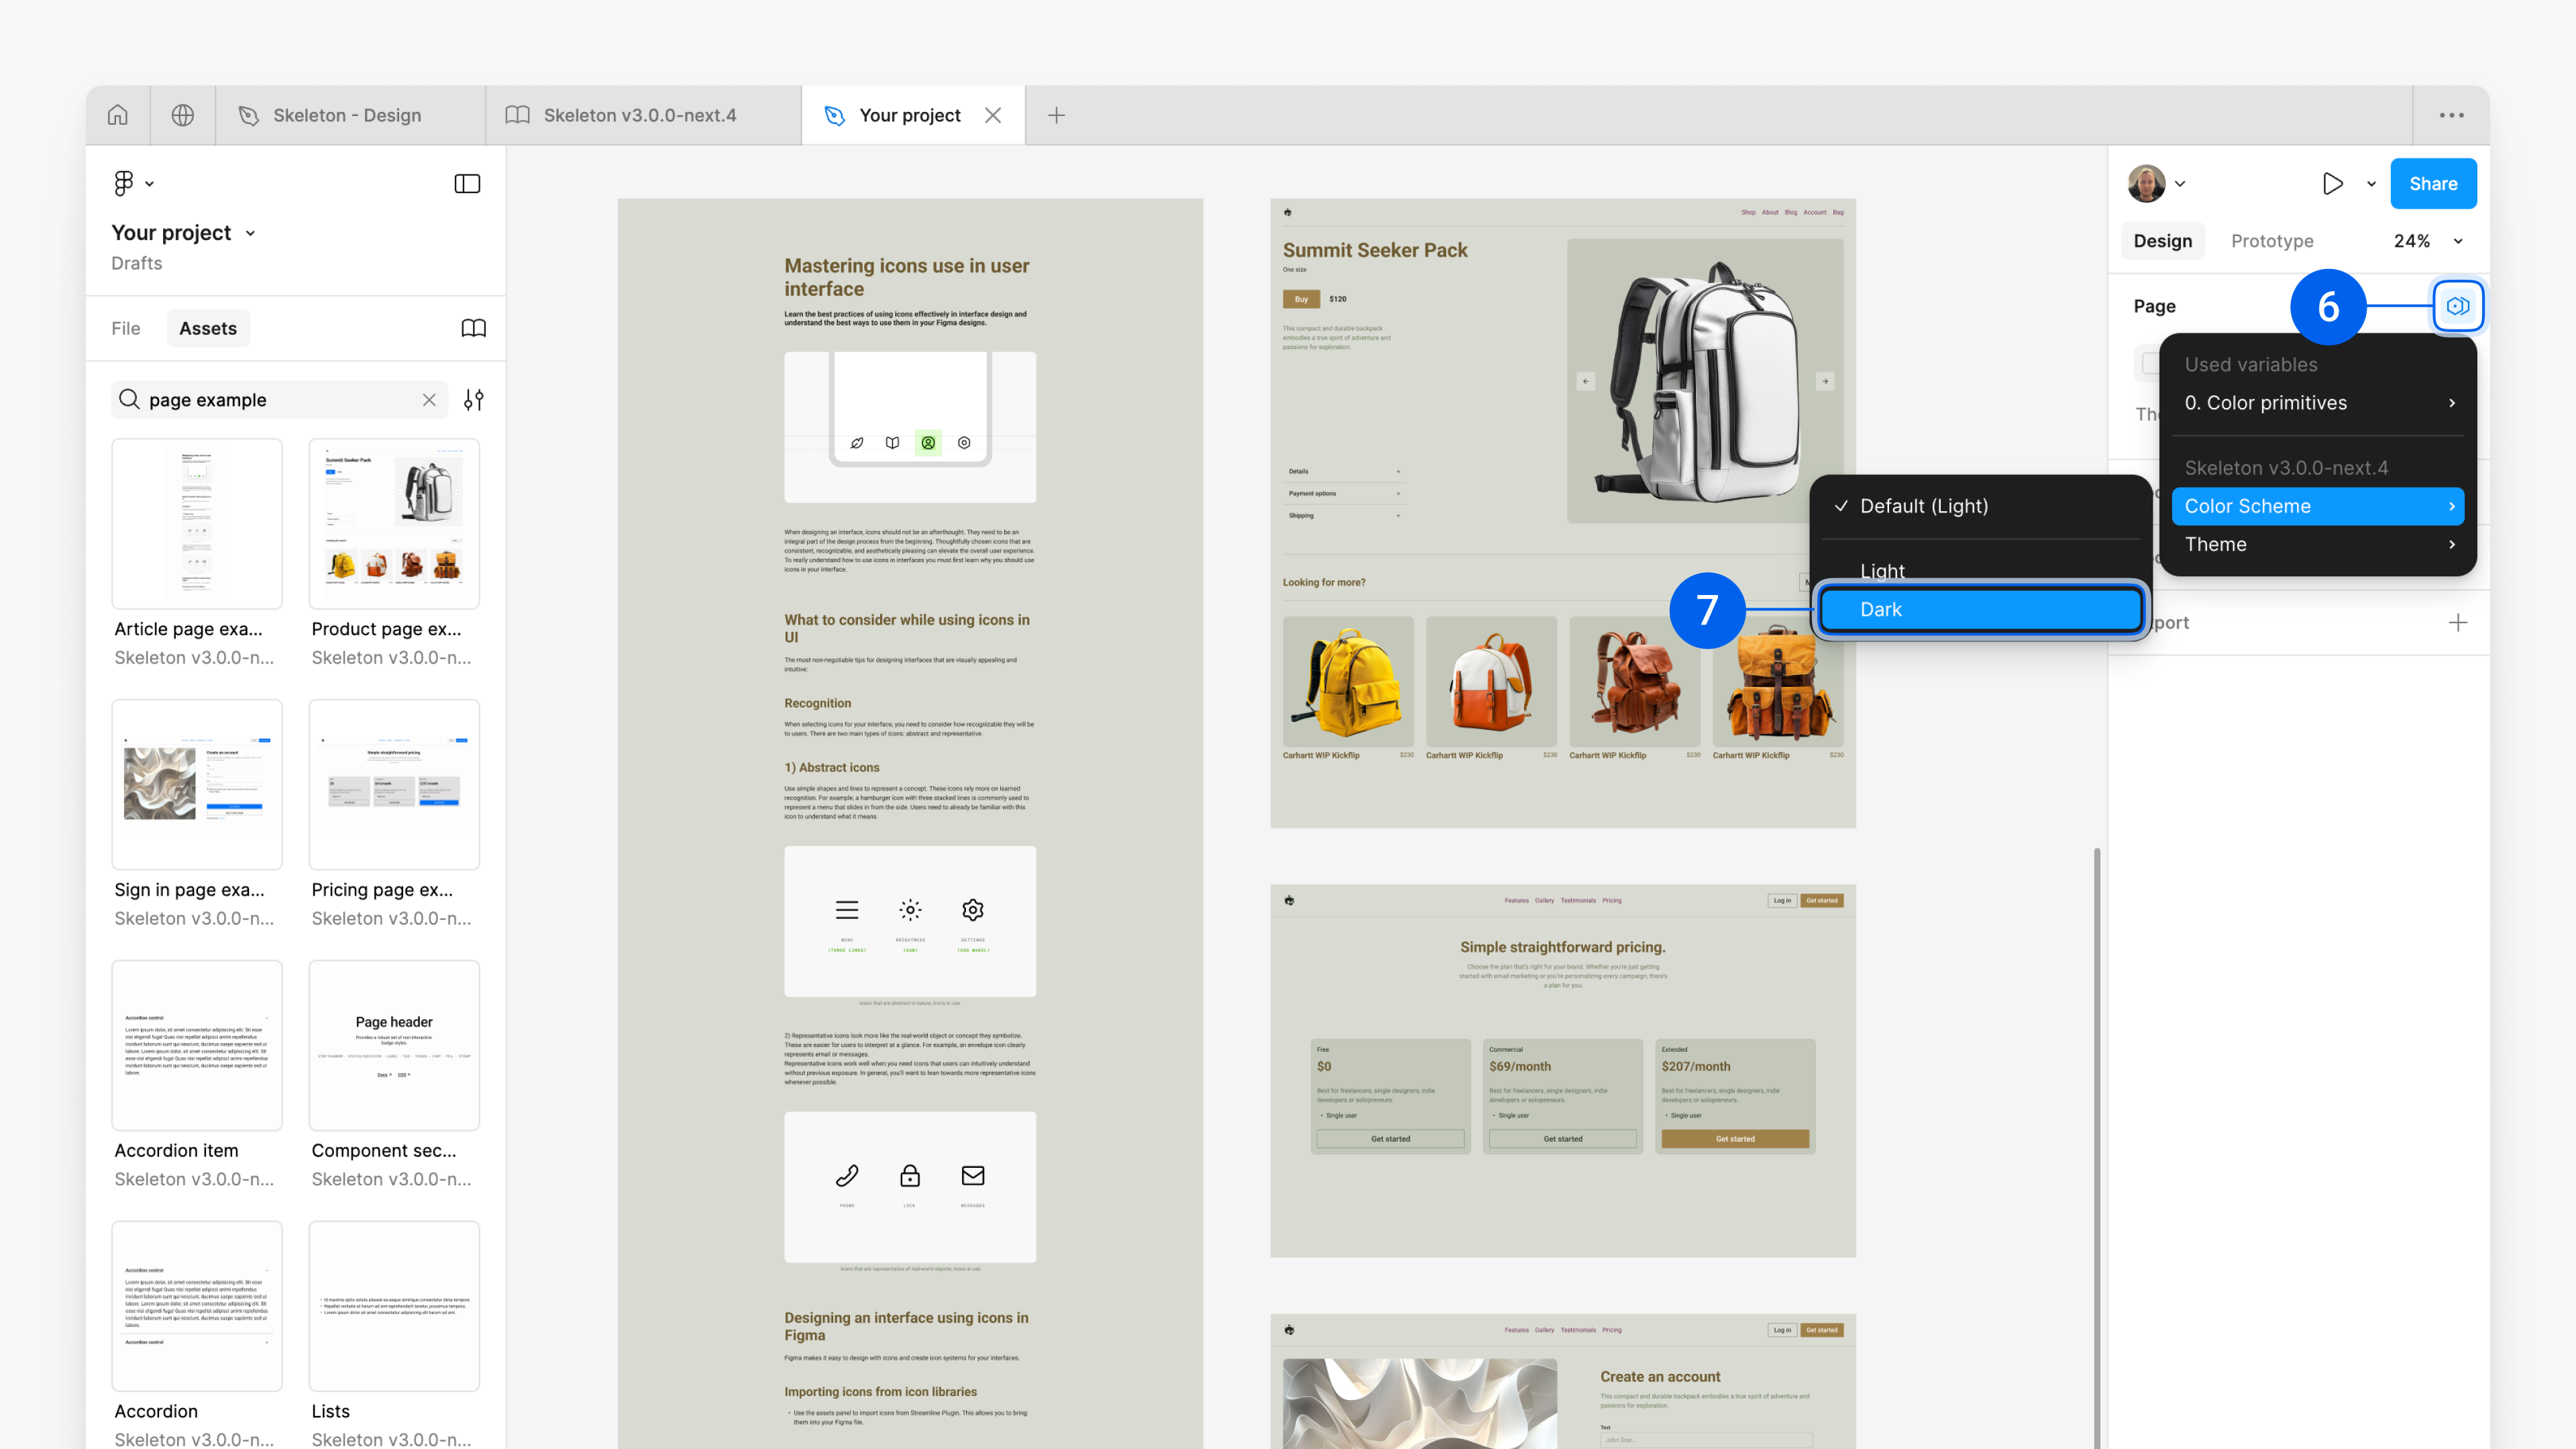
4. Switch modes
Skeleton themes include light and dark modes by default. Switch modes the same way you switch themes: in the Pages section⁶, click Apply variable mode, hover over Color Scheme, and select the scheme⁷.
Your components are now in the Dark Color Scheme.